
Fine line micro Medusas are the viral look everyone saved last month, and the truth is most of them change dramatically as they heal. Fresh photos and healed photos tell different stories. Pick the right placement and line weight now and you save yourself a touch-up or a redo later. Below are 17 micro Medusa tattoo ideas that balance the trend with real-world aging, styling, and session logistics.
1. Micro Fine Line Medusa Head on the Wrist
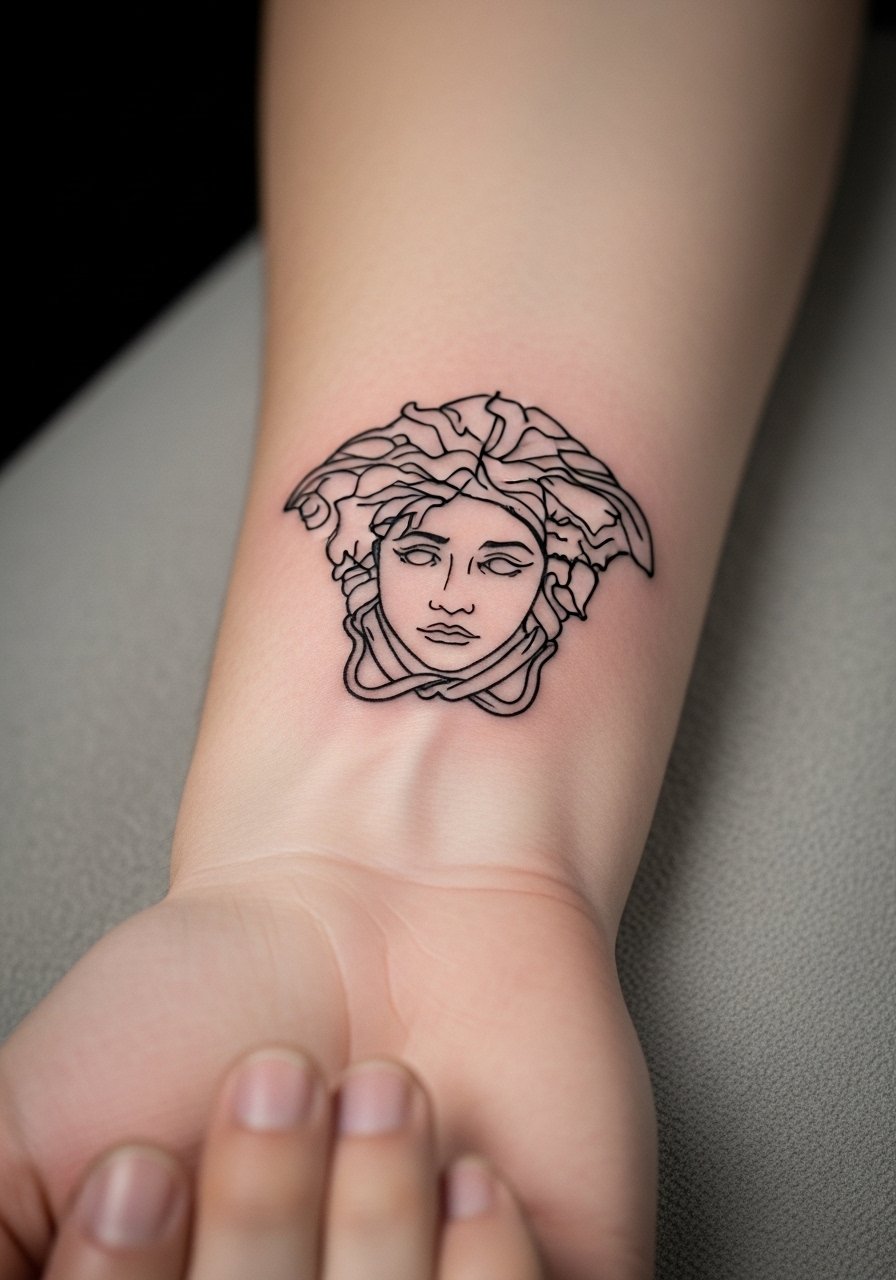
I've seen tiny fine line Medusas on wrists that still read crisp after three years when the lines were given breathing room. The wrist is sensitive so expect a sharper first week, but a roughly 45-90 minute session will do a 1- to 1.5-inch piece. The debate is live in the community. One camp says fine line fades fast on hands and wrists. The other camp says proper depth and slightly thicker single lines hold better. Tell your artist you want slightly bolder single-line anchors and ask about a 0.25mm needle path. Pair this with a thin silver cuff bracelet when showing it off, and wear a sleeveless tank to the appointment so the artist has clear access.
2. Micro-Realistic Medusa Profile Behind the Ear
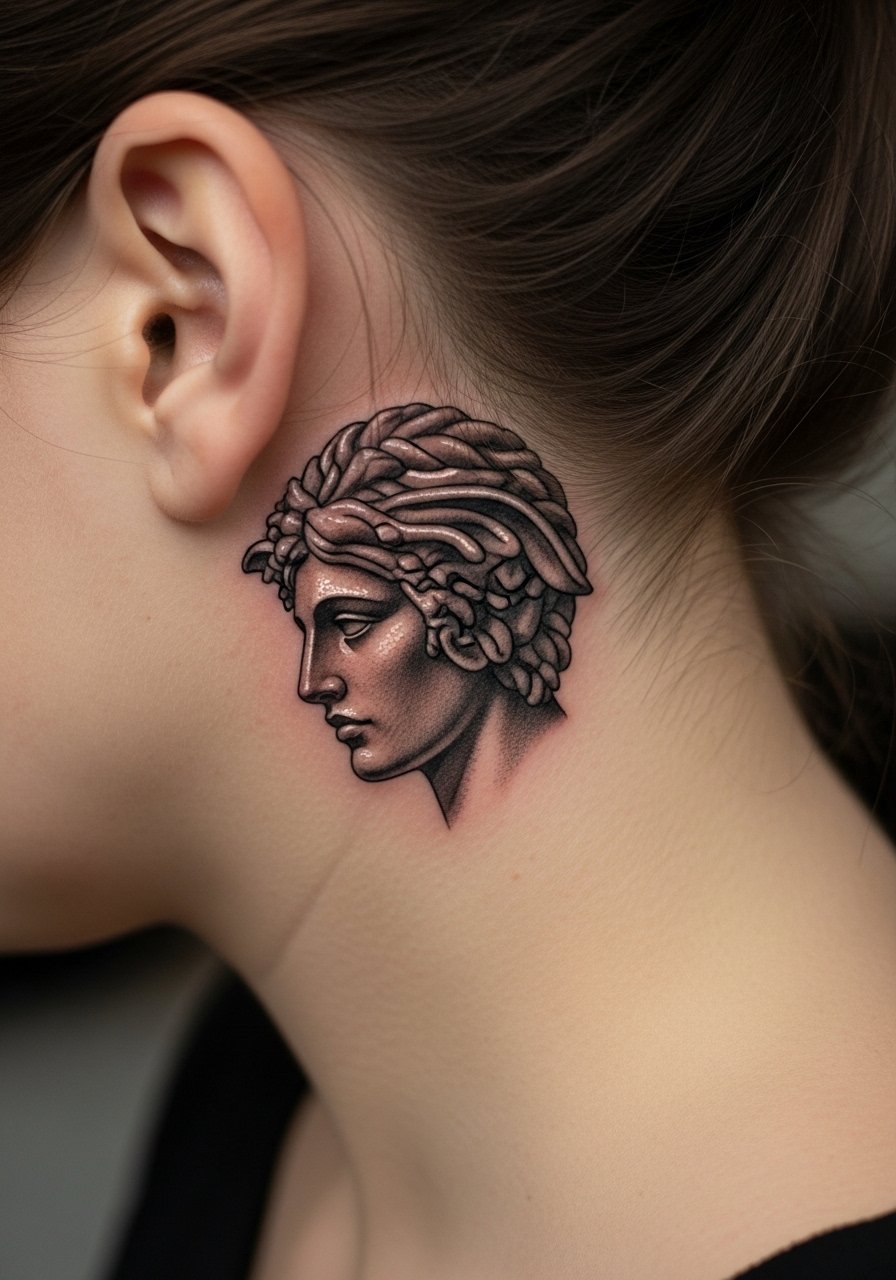
Fair warning: behind-the-ear pieces are tiny and need a steady hand. A 1.5-inch micro-realistic profile takes 60-120 minutes because of the shading work. The area heals fast but can be awkward for touch-ups if the shop ghosts you after a guest spot. During consultation ask to see healed photos of similar placements, not only fresh work. For the session pull your hair into a high ponytail and bring a high ponytail holder so the artist can work without fabric snags. This placement is discreet and great for people who want a hidden nod to mythology.
3. Minimalist Medusa Silhouette with a Single Snake Coil on the Ankle
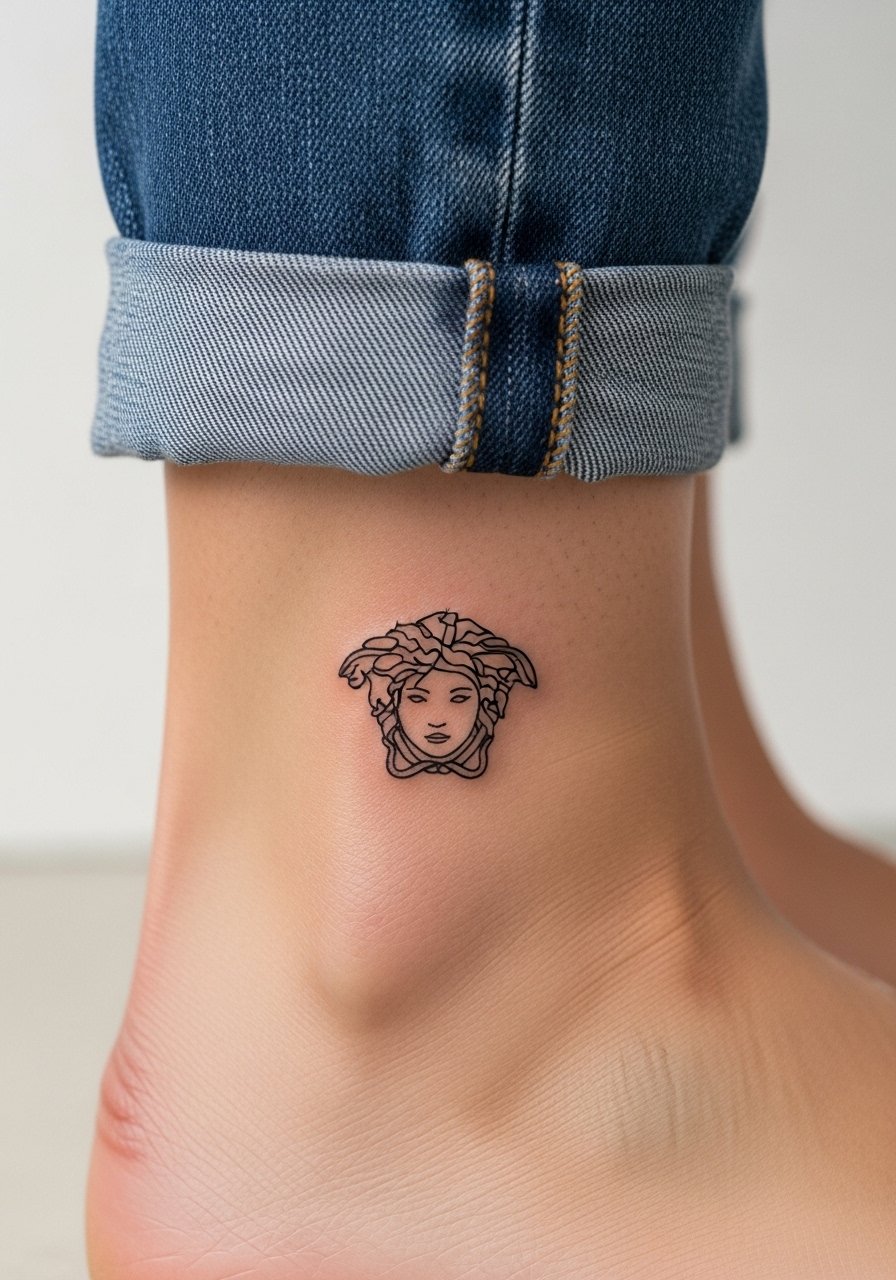
If you want something quick to sit through, a one-inch silhouette on the ankle is a single-session option under 45 minutes. The common mistake is going too small for complex silhouettes, which turns into a smudge after heavy walking seasons. Ask your artist for slightly more spacing in the coils and a single thicker outer line so the silhouette reads after repeated shoe friction. To show it off, pair it with strappy heeled sandals or roll up cropped jeans. Expect a touch-up request at 6-12 months if you wear abrasive socks or tight shoes often.
4. Neo-Traditional Medusa with Floral Crown on the Collarbone
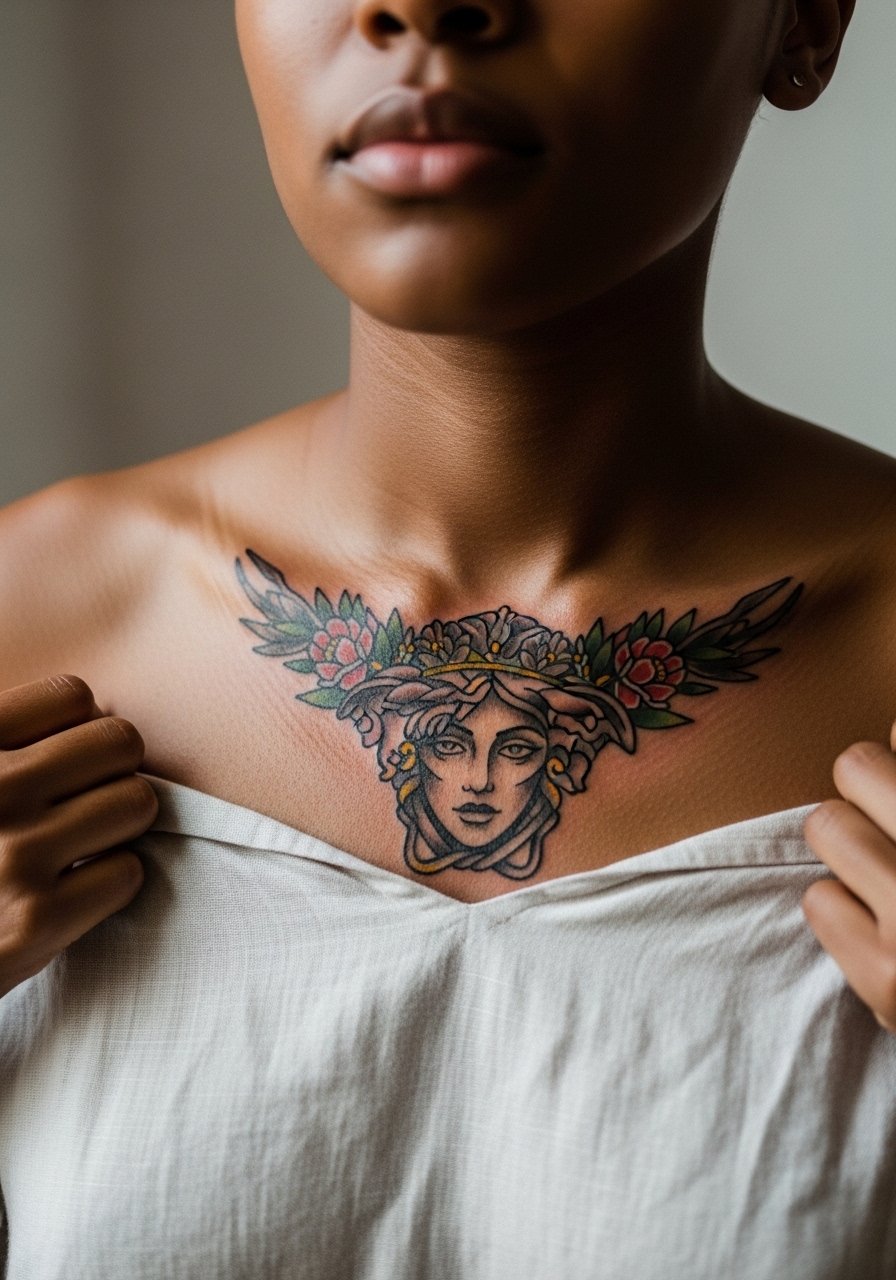
I've noticed collarbone placements age well when artists build in saturation for darker skin tones. A 2-3 inch neo-traditional collarbone Medusa takes 2 sessions if you want color layers. The big mistake is under-saturating on first pass for fear of oversaturation. Ask for a high-contrast palette and plan a second pass for color fill. For show-off outfits choose an off shoulder linen top and layer thin necklaces that sit just below the piece. Collarbone work is visible and photographs consistently well after healing.
5. Blackwork Medusa Eyes with Geometric Snakes on the Calf
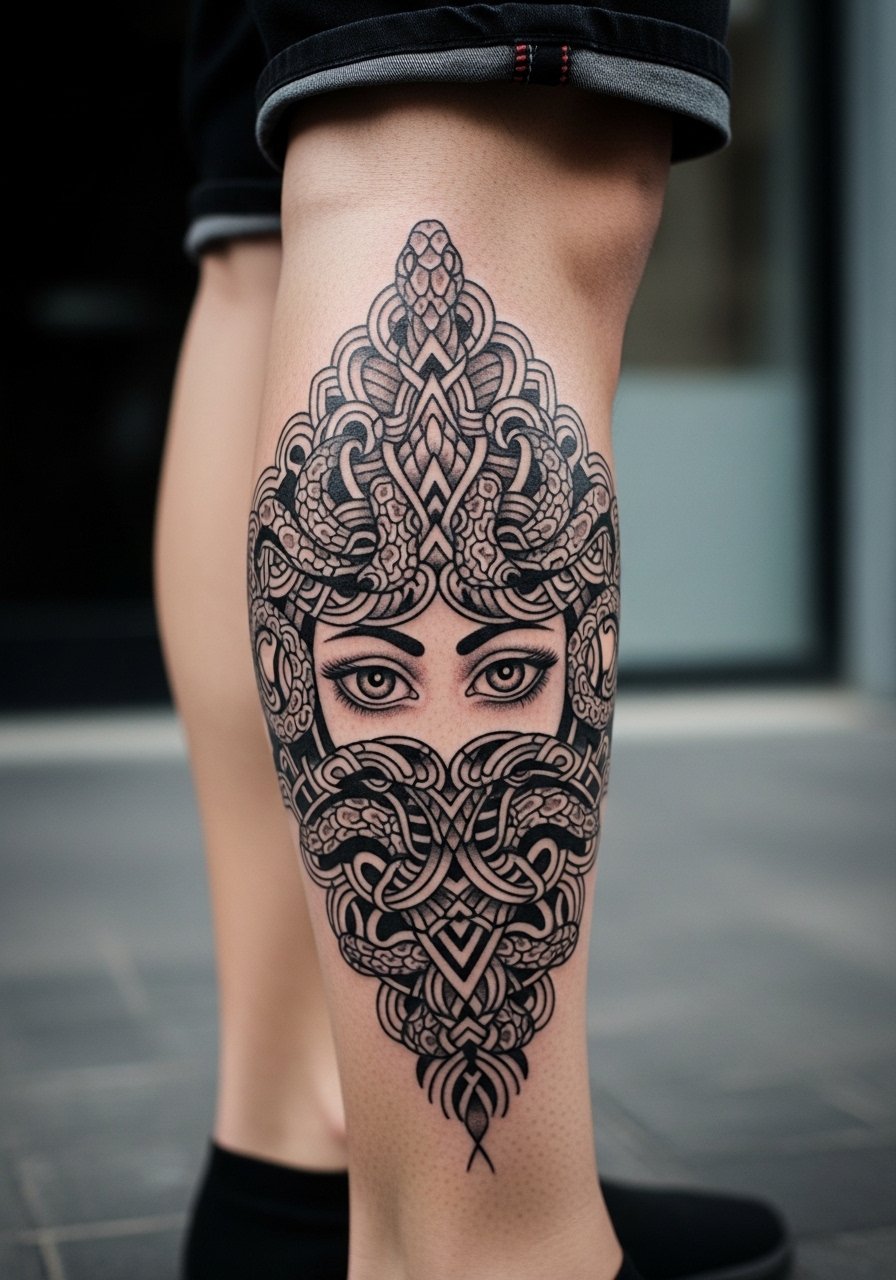
There is something about solid blackwork that reads from a distance and actually gains clarity in photos after a year. Calf placement handles saturation well so artists can go heavier without blowout risk. A two-session approach gives you crisp fills and defined geometric snake spacing. The mistake is cramming too many geometric nodes into a small area. Tell your artist you want negative space between snake coils to preserve shape while still getting high contrast. Style it with a midi skirt with a side slit or slim leggings when you want to reveal the piece.
6. Watercolor Medusa Portrait with Blue-Green Snakes on the Thigh
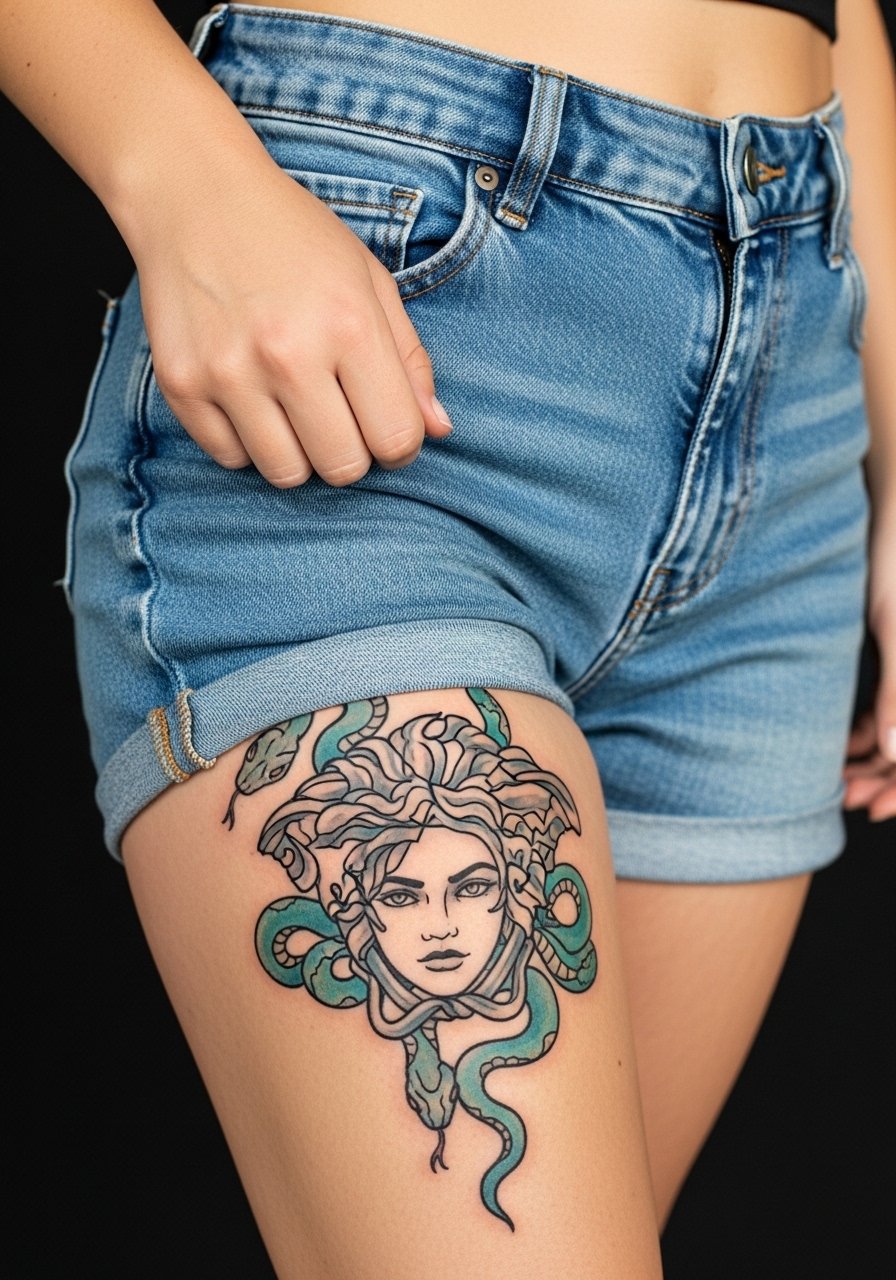
Watercolor Medusas look ethereal in photos but color longevity varies. The trend moved away from watercolor to blackwork for longevity on Instagram in recent months. If you still want painterly blues pick a thigh or rib spot where touch-ups are easy to schedule. Expect 1-2 sessions for saturation and a recommended touch-up in 12-24 months. Wear loose shorts or a high-waisted denim on session day so the artist can access the upper thigh without fabric tension. Remember that color bleeds differently on different skin tones, so request healed examples from your artist.
Studio Day Picks
The wrist, collarbone, and thigh pieces above all require slightly different prep and aftercare attention, so these items smooth the session and the first week.
-
Ink-Oil balm. A non-greasy balm fans on Reddit for dry-healing micro linework and keeps early scabbing from getting shiny on fine line wrist pieces.
-
Australian Tattoo Goo. Helps with humid climate healing for collarbone and thigh work where sweat can interfere with early settling.
-
Dragon Blood Tattoo Lotion. Lightweight lotion option for sensitive skin areas near the collarbone without leaving heavy residue.
-
Herbal tattoo salve. A gentle plant-based salve some people prefer when petroleum products cause clogged pores during week one.
-
Hustle Butter Deluxe. Thinner than petroleum alternatives so fine line work on inner forearms can breathe during the first few days.
7. Ignorant Style Micro Medusa with Thick Outlines on the Back of the Neck
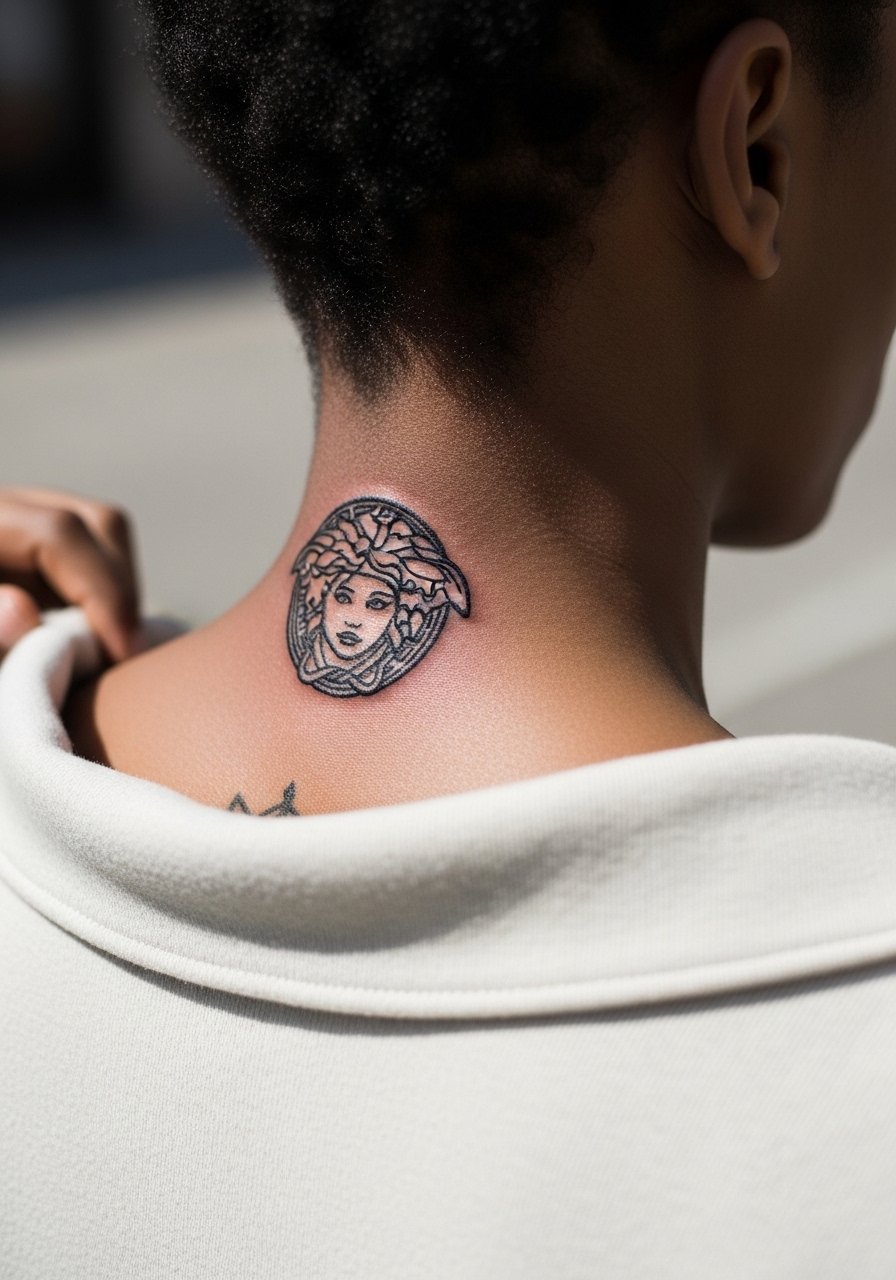
The ignorant style uses bold, hand-drawn energy that actually ages into a readable icon rather than a smudge. The back of the neck can be a single-session piece under 90 minutes. Be clear with your artist that you want heavy outlines and minimal internal shading. The controversy about numbing cream sometimes shows up here. Some artists say numbing creams are fine for first-timers, and other traditionalists prefer to avoid them. Decide before the session and mention your preference in the consult. For session wear bring a loose button-down shirt you can slide to one side for access.
8. Ornamental Medusa Frame Along the Spine
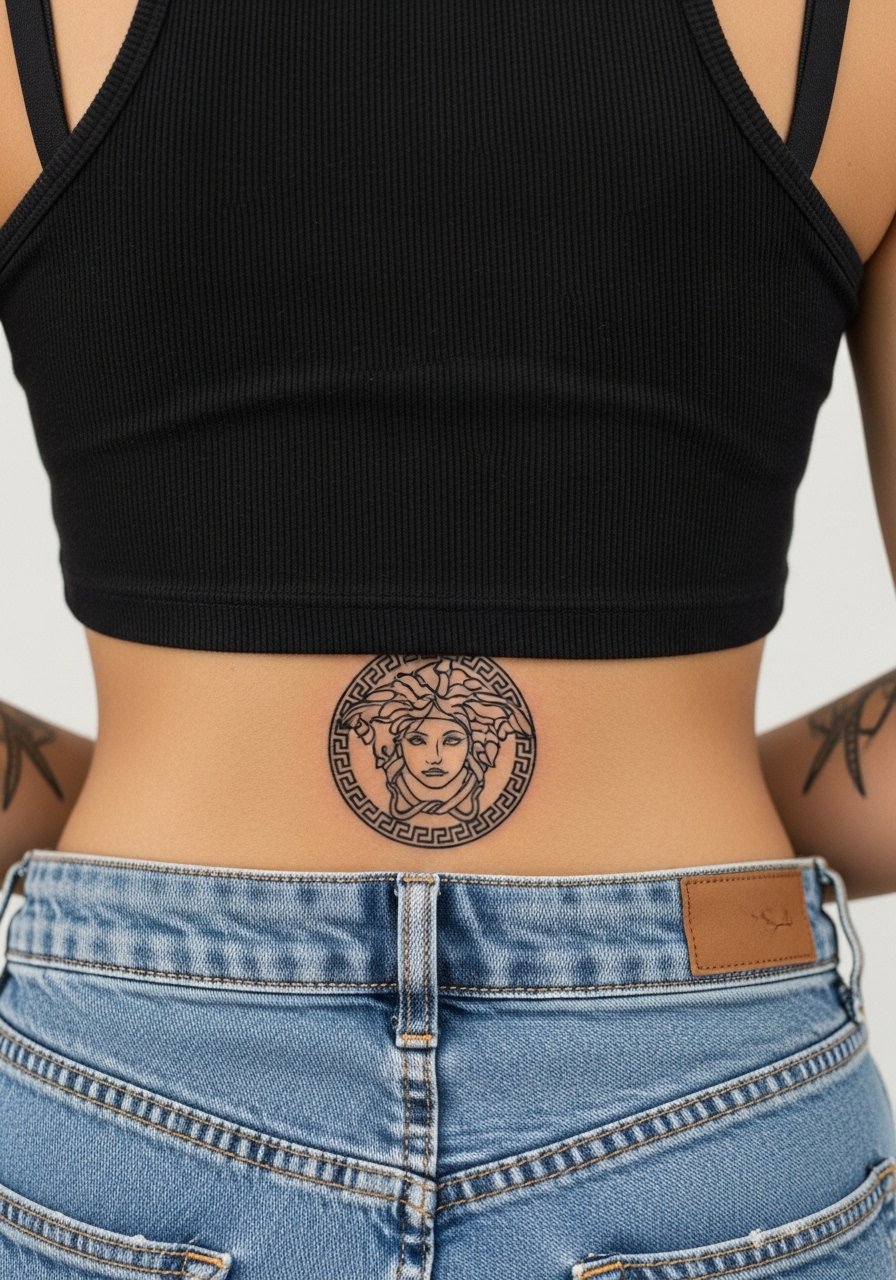
I like using the spine for inverted Medusa compositions that read as inner strength when hidden beneath clothing. Spinal work usually takes two sessions for a 2.5-inch frame with ornamental snake motifs. Tell your artist you want spacing that moves with the spine, not tight filigree that will blur with movement. This placement benefits from a session wear plan like a button-front cardigan you can slide aside. If you plan to hide it during scabbing, pick tops with a high back or long hair to cover the area.
9. Fine Line Medusa with Perseus Shield Elements on the Ankle
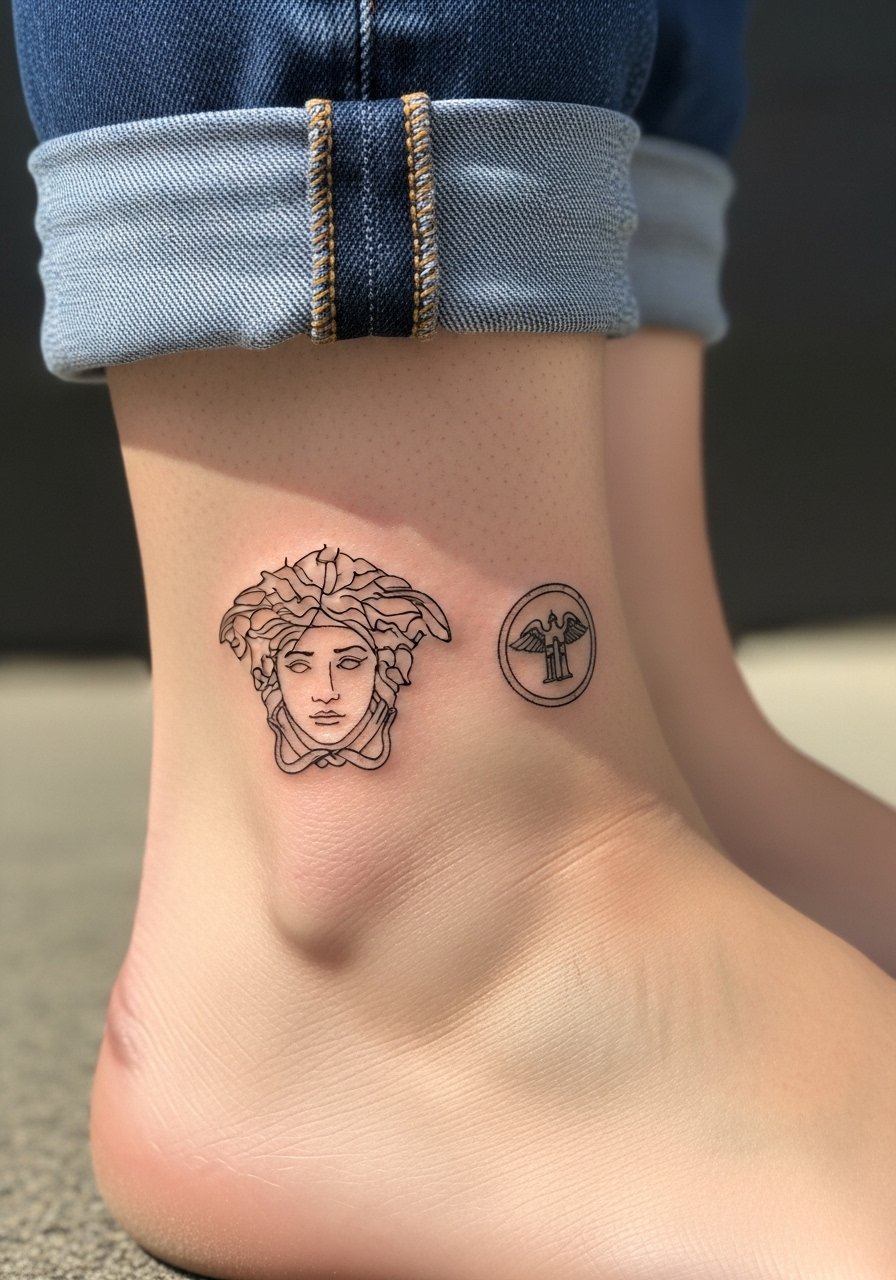
This story-driven micro form works well on stable skin zones like the ankle. Most people get a 1-inch version in a 45-60 minute session. The common mistake is cramming too many small iconographic elements into an inch. Instead ask your artist to simplify the shield to one clear silhouette so it still reads at six months. For the appointment wear loose joggers you can pull up without compressing the fresh ink. Expect less distortion here than on the thigh if your weight fluctuates.
10. Micro Black and Gray Medusa Tears Under the Eye
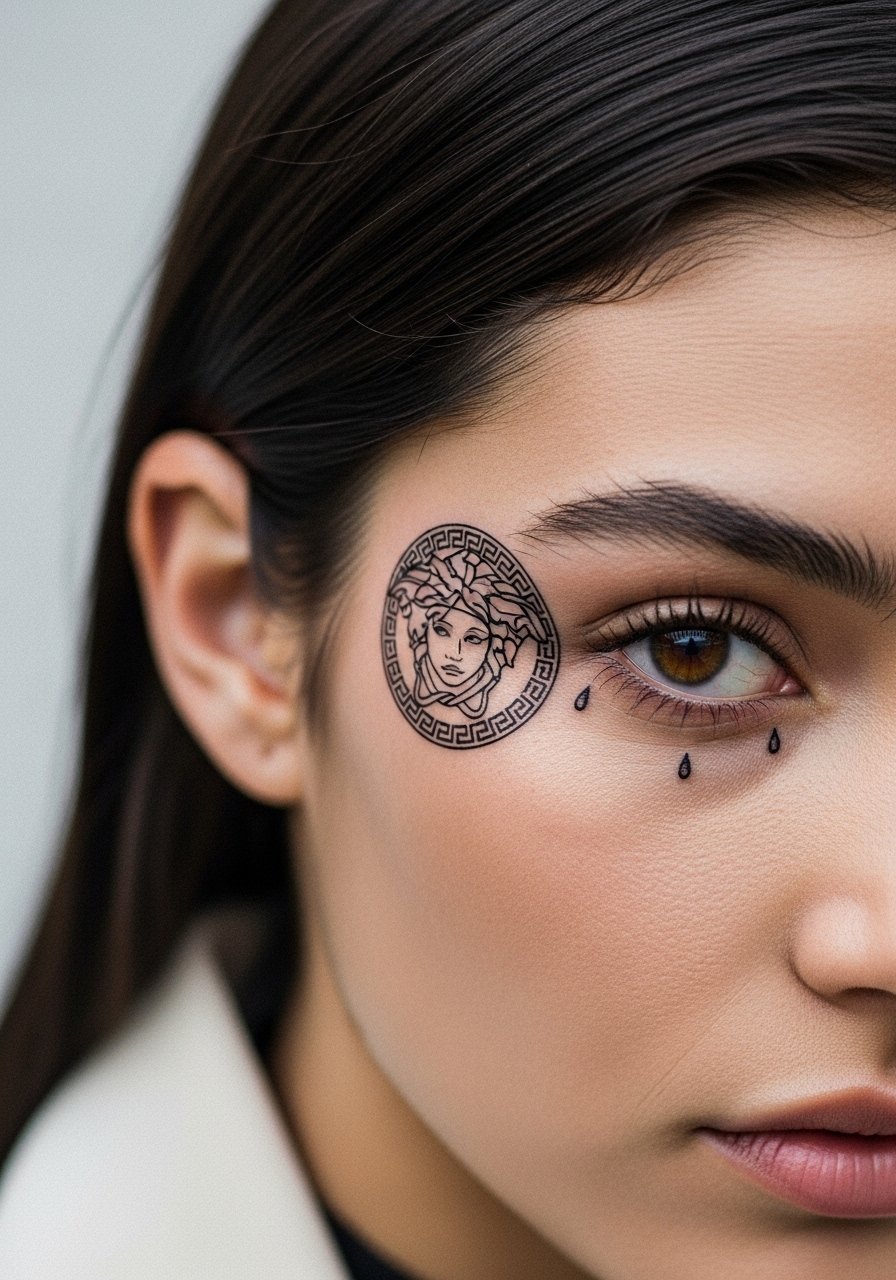
Facial-adjacent placements call for a specialist and careful conversation about long-term visibility. A micro piece under the eye is delicate and can take a single short session, but healing is constant work because of facial movement. The mistake is asking for too much gray wash in a tiny zone, which can blur into a shadow. If you are considering this, ask to see healed photos on similar skin tones and be prepared for frequent touch-ups. Keep in mind some shops require a consultation before booking facial placements.
11. Traditional Micro Medusa with Bold Snakes on the Forearm
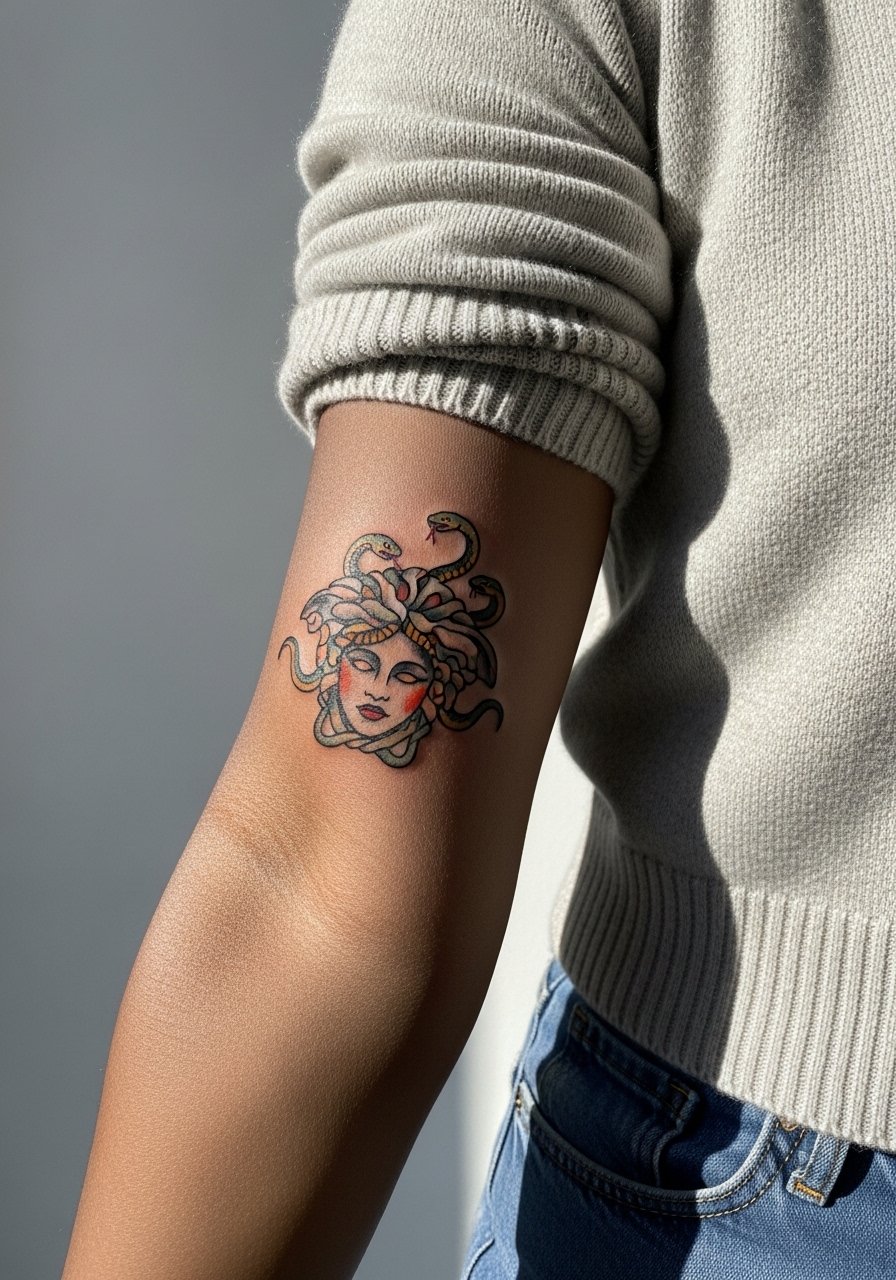
There is reliability in limited color palettes and strong outlines for forearm minis. A 1.5 to 2-inch traditional piece is a one- to two-hour job. The aging is straightforward. Saturated black outlines may even look nicer at year five as the color settles. The usual error is adding too many color gradients inside a small form. For session wear push a fitted cashmere or a short-sleeve button-up so the artist can roll the sleeve freely. This placement handles outdoor wear and photos well.
12. Dotwork Medusa Snakes Wrapping a Small Skull on the Shoulder Blade
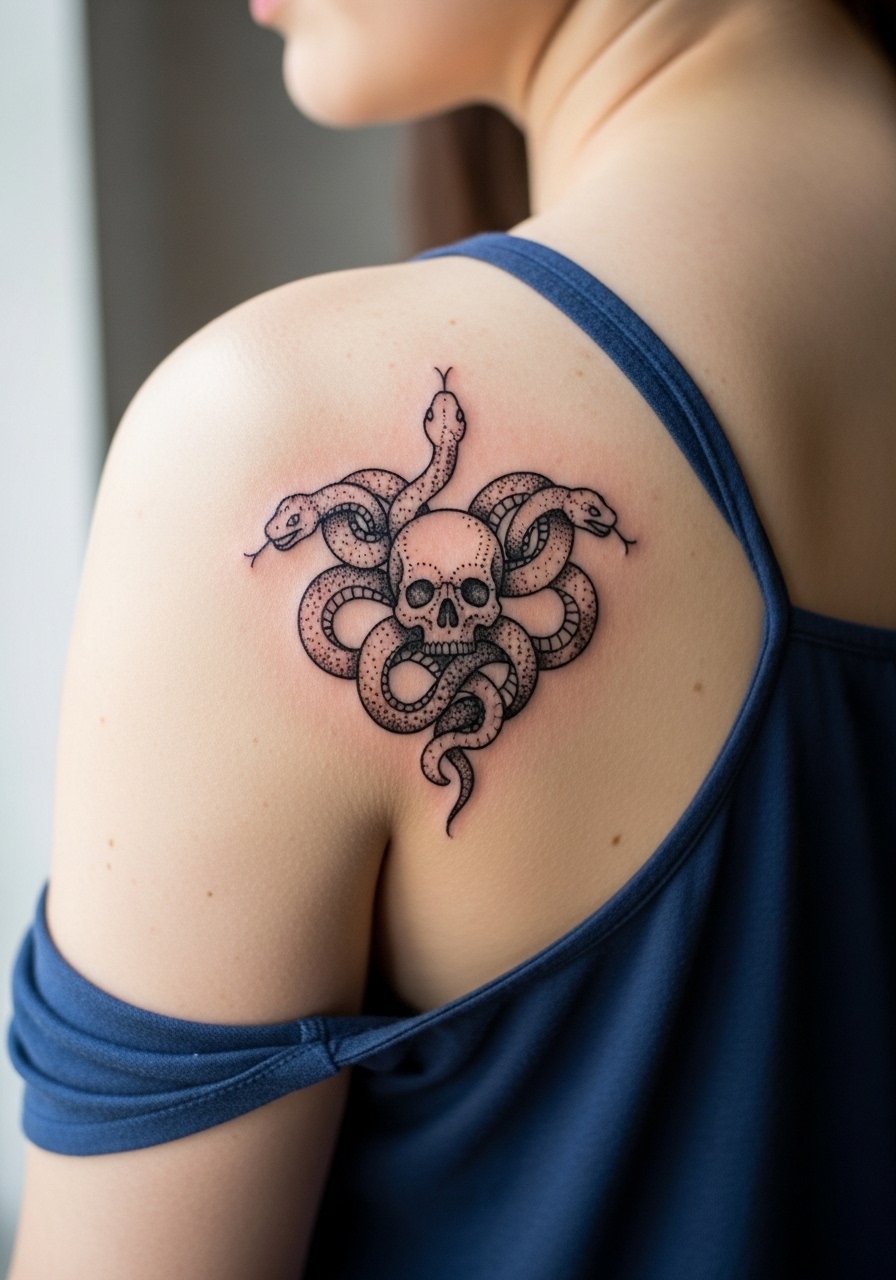
Dotwork thrives on the shoulder where the skin is stable and blowout risk is lower. A two-session dotwork piece lets the artist build density without overworking the skin. A real mistake is compressing dots too tightly, which causes the pattern to merge after healing. Ask for varied dot spacing to keep the skull and snake coils readable at two and five years. For show-off outfits choose a sleeveless sundress that frames the shoulder without covering the piece.
13. Inverted Spine Medusa for Hidden Strength
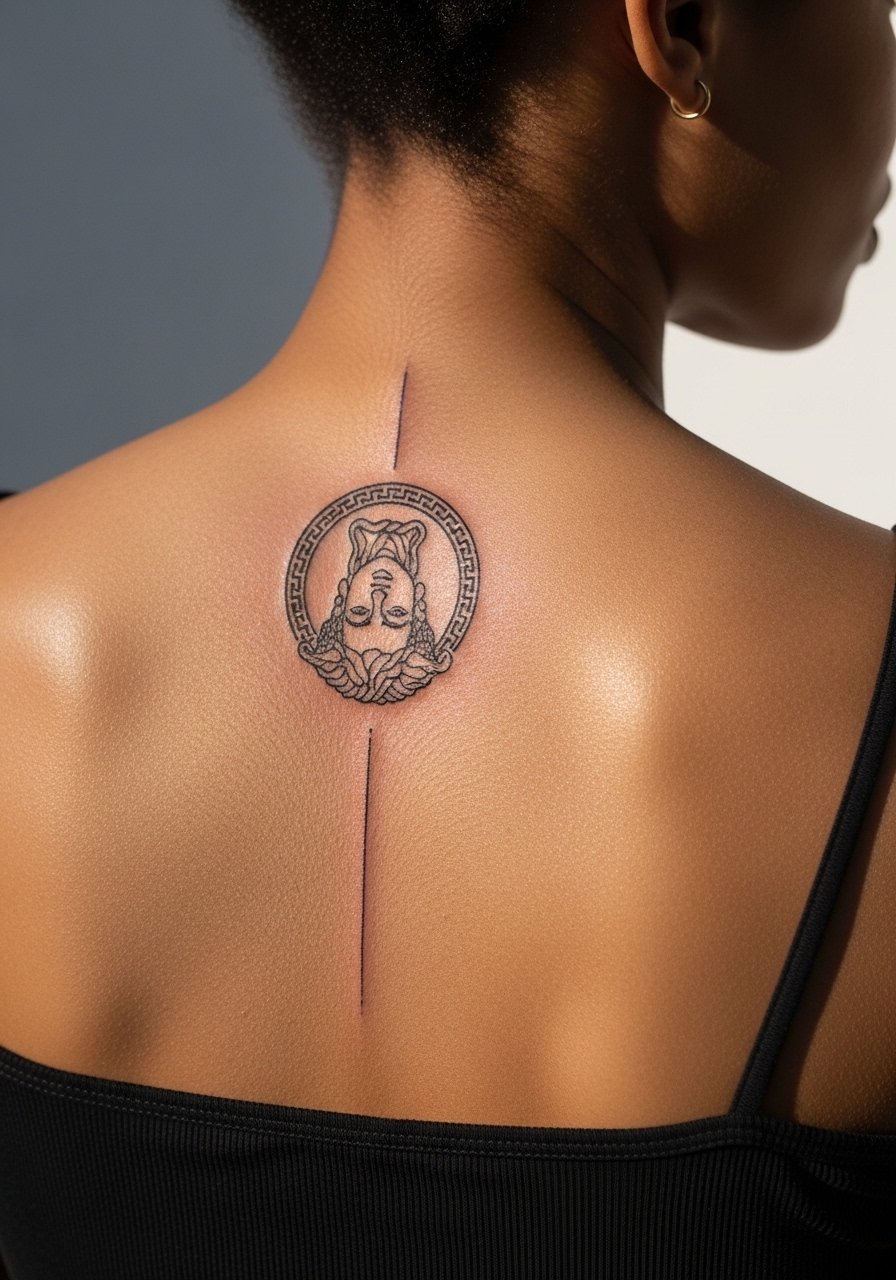
This inversion is one of the under-covered ideas I see rarely in galleries. Placing Medusa upside down along the spine reads as a private emblem when clothed and a clear motif when revealed. Expect two sessions for spacing and symmetry over 2-3 inches. Mention skin mobility and ask the artist to map the design while you bend so the snakes fall naturally. If your wardrobe includes open-back dresses, this placement looks striking without being constantly on display.
14. Constellation-Paired Micro Medusa on the Inner Forearm
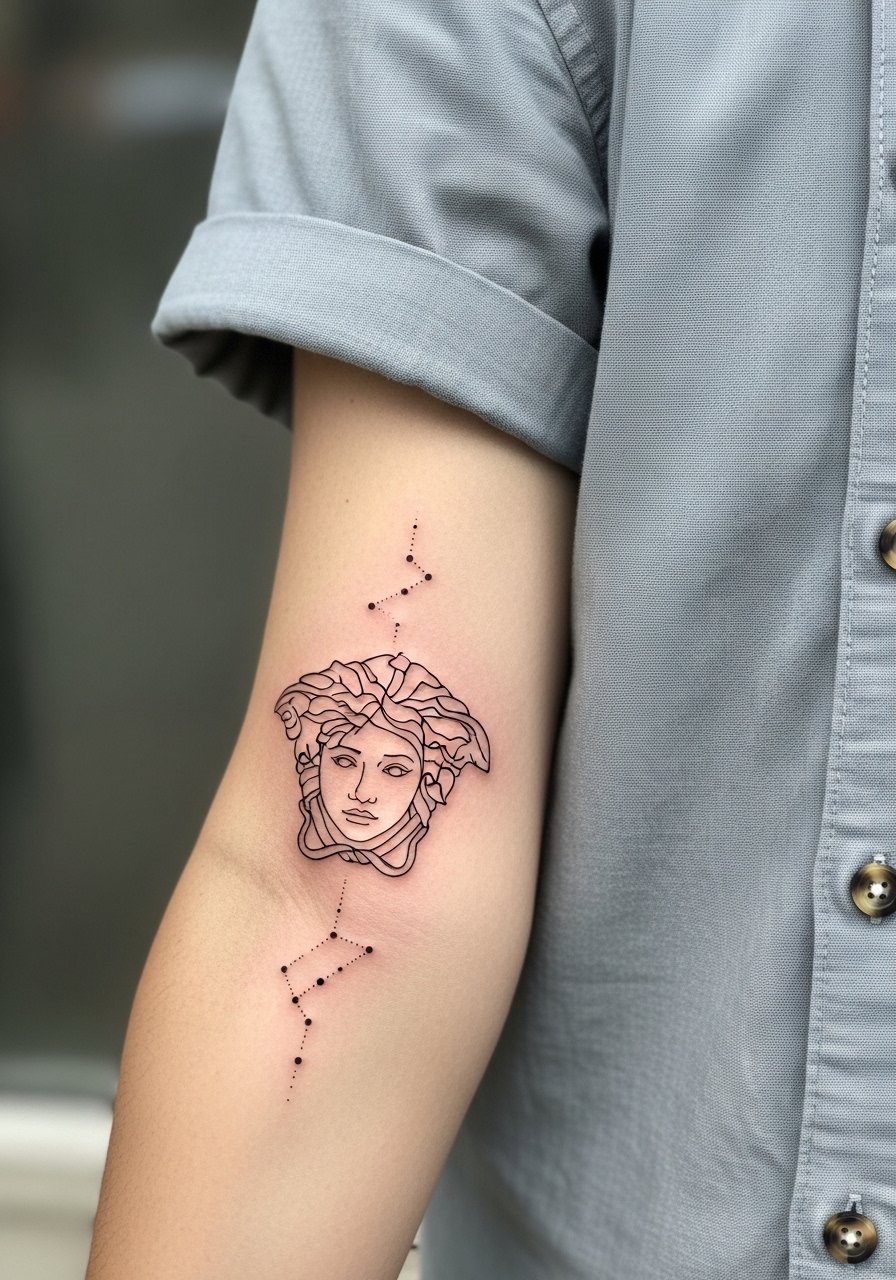
Pairing a micro Medusa with constellation dots personalizes the myth without overcomplicating the canvas. Inner forearm gives a long, flat surface so the tiny stars can be spaced and still read after two years. Ask your artist to place the constellation in negative space so the Medusa silhouette does not get crowded. For the session wear a loose short-sleeve button-up so the arm can extend comfortably. This combo is subtle, and healed photos often look like deliberate jewelry.
15. UV-Reactive Micro Medusa for Subtle Night Glow
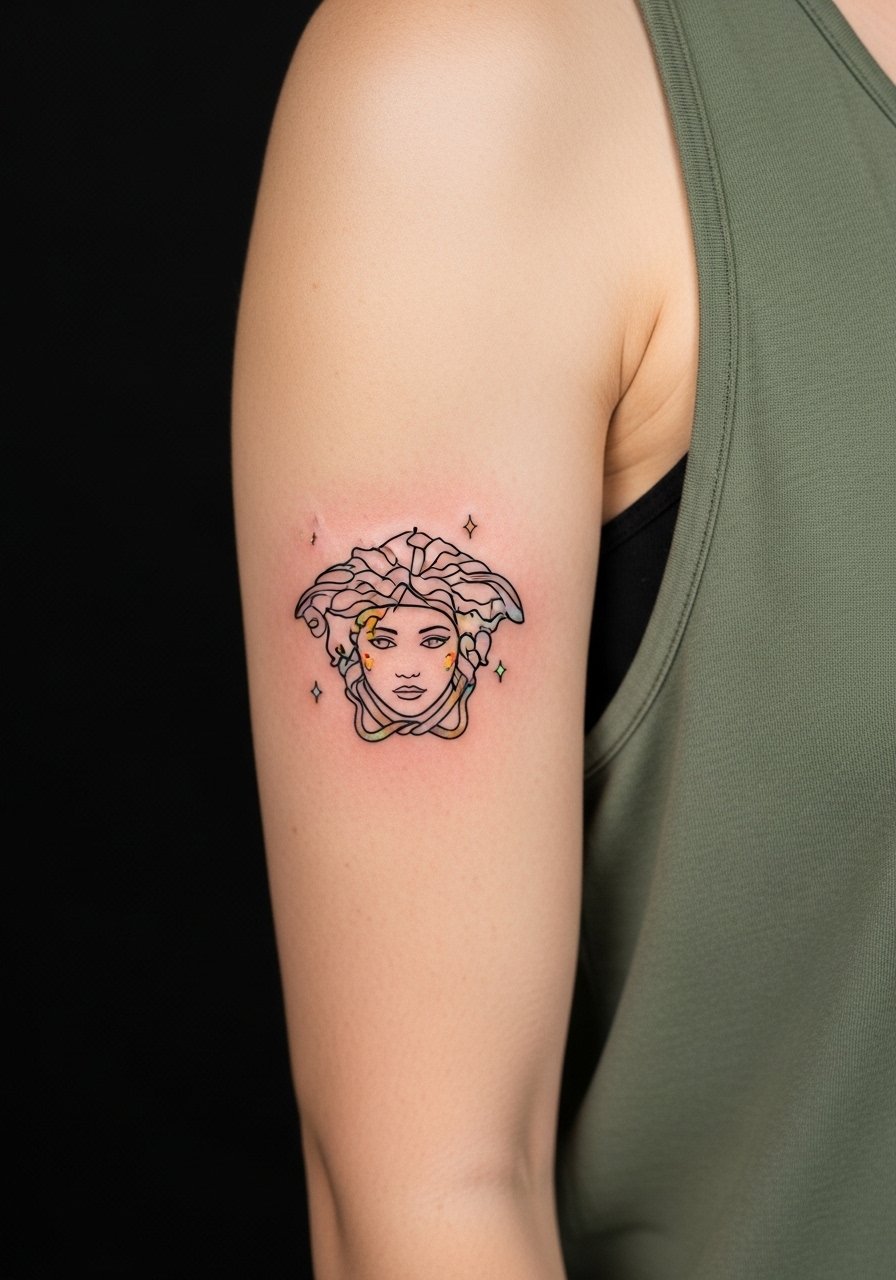
UV-reactive ink is experimental and not all studios offer it. If you want subtle daytime discreteness and a glow under blacklight, discuss pigment safety and long-term fading with the shop beforehand. The debate here is about permanence and allergy risk, so find an artist who has documented healed UV work. The session is similar time-wise to a small color piece. For session wear bring a loose tank top and plan to avoid sun exposure on the area for two weeks.
16. Medusa on a Prosthetic Limb for Adaptive Expression
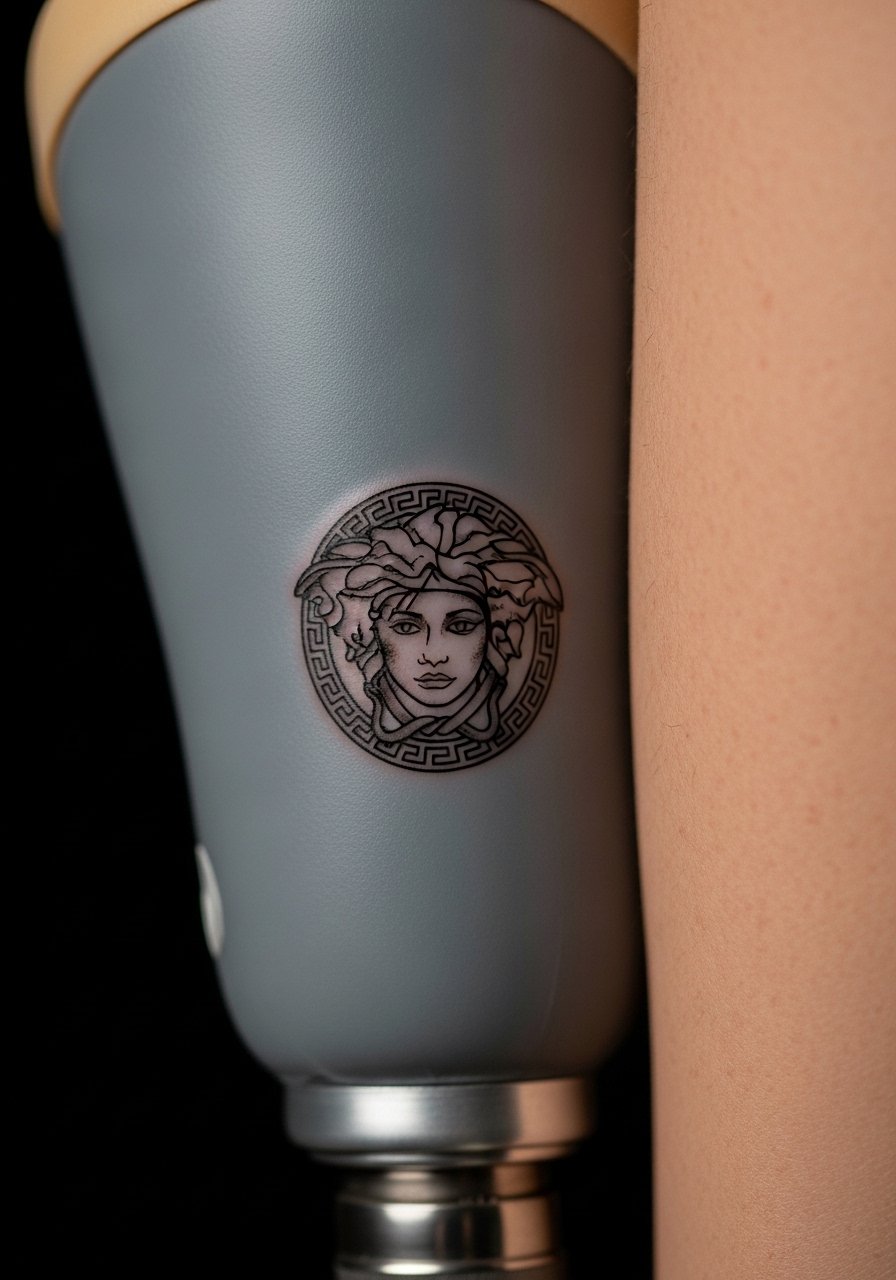
Adaptive tattooing on prosthetic limbs is a thoughtful way to extend body art practices. This idea requires a specialist who understands materials and adhesion if the prosthetic surface will be painted or sealed. The sessions vary widely depending on the substrate, and you may coordinate with the prosthetics technician. The main advantage is design control without skin aging concerns. For showing it off, style with complementary sleeves or band covers that highlight the prosthetic art when desired.
17. Healing Under Fringe Bangs: Neck Medusa Hidden During Scabbing
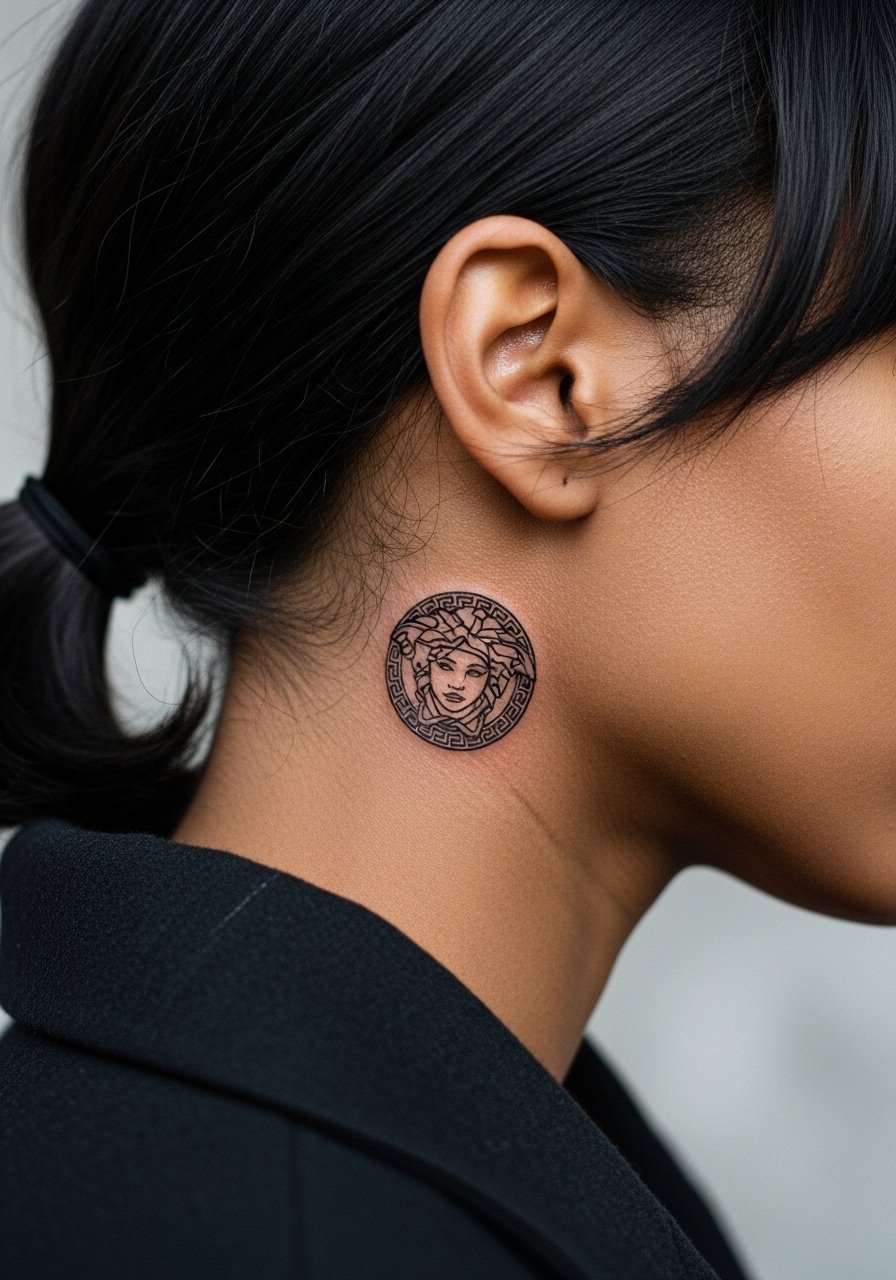
This placement is practical for people who want to hide the piece during the scabbing window. The side-neck micro Medusa usually fits a 1-1.5 inch layout and can be done in a single session. The session is quick but healing requires keeping hair clean to avoid trap of oils and product. For the appointment wear a loose v neck shirt and bring clips for your fringe so you can control hair placement. If you plan to conceal the piece, talk through post-care with your artist so hair products do not affect initial healing.
Frequently Asked Questions
Q: How soon will a fine line wrist micro Medusa need a touch-up?
A: From what I have seen, fine line wrist pieces commonly show the need for a touch-up between six and twelve months, especially if the wearer has frequent sun exposure or friction from bracelets. Ask your artist about slightly thicker anchor lines at booking to push that timeline outward. Touch-ups are normal for tiny work and not a sign of poor technique.
Q: Can micro-realistic Medusa profiles work well behind the ear on darker skin tones?
A: Yes, they can, but the shading approach should prioritize contrast. Many clients with darker skin request extra shading passes and slightly bolder keylines so the facial features read in photos. Always request healed photos from the artist on similar skin tones and schedule a consult to discuss pigment choices.
Q: Should I pick watercolor or blackwork if I want my micro Medusa to last?
A: If longevity is the main goal, blackwork usually wins because pigments hold and require less frequent retouching. The conversation is not binary though. Some people still want watercolor for the look and accept a future color refresh. Consider placement and how much sun exposure the area gets when choosing color versus blackwork.
Q: Is UV-reactive ink safe for micro tattoos and how does it age?
A: UV-reactive ink is experimental and not universally available. It may fade differently and can have varied visibility on different skin tones. If you are interested, find a studio that documents healed UV work and be prepared for more frequent touch-ups than with standard black ink.
Q: Where do I find reputable micro Medusa examples and guest spot schedules?
A: Search hashtags like #MicroMedusa and #FineLineMedusa on Instagram for healed examples and local reels. TikTok location filters and the Tattoodo app are good for guest-spot calendars. Reddit threads in r/tattoos are also useful for peer recommendations and healed photos.
