
Fine line behind-ear pieces look flawless on saved boards, but the reality is they demand more than you expect. Expect a sharp sting near the bone, a higher-than-average chance of lines softening within months, and the annoyance of hair catching the scab while it heals. I pulled together 21 ideas that work with the ear curve, plus what to tell your artist, how things age, and which outfits make the ink read best.
1. Lavender Sprig, Curved to the Helix
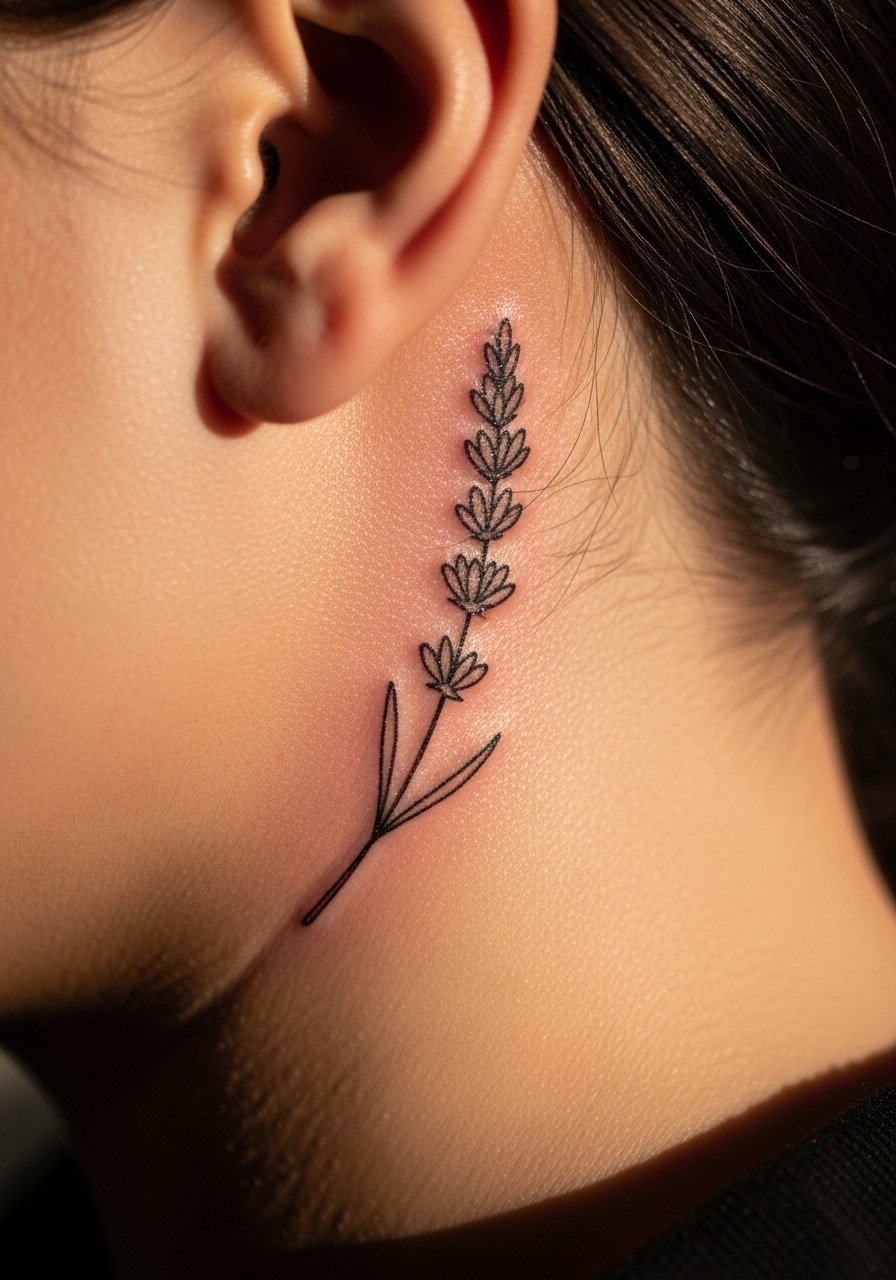
A vertical lavender sprig follows the ear curve and reads like an organic extension of hair. I recommend asking for slightly thicker main stems and single-needle detail on the buds. Tell your artist you want spacing that prevents merging so the tiny buds still read at six months. Pain lands in the sharp-but-brief category for most people. Session time is short, often under 30 minutes. Common mistakes are asking for ultra-thin stems that vanish after a touch-up is needed. For showing it off, pair this with a pulled-back bun and a silk blouse women ivory or a small hoop earrings gold so the sprig sits against clean lines.
2. Single-Line Butterfly Outline
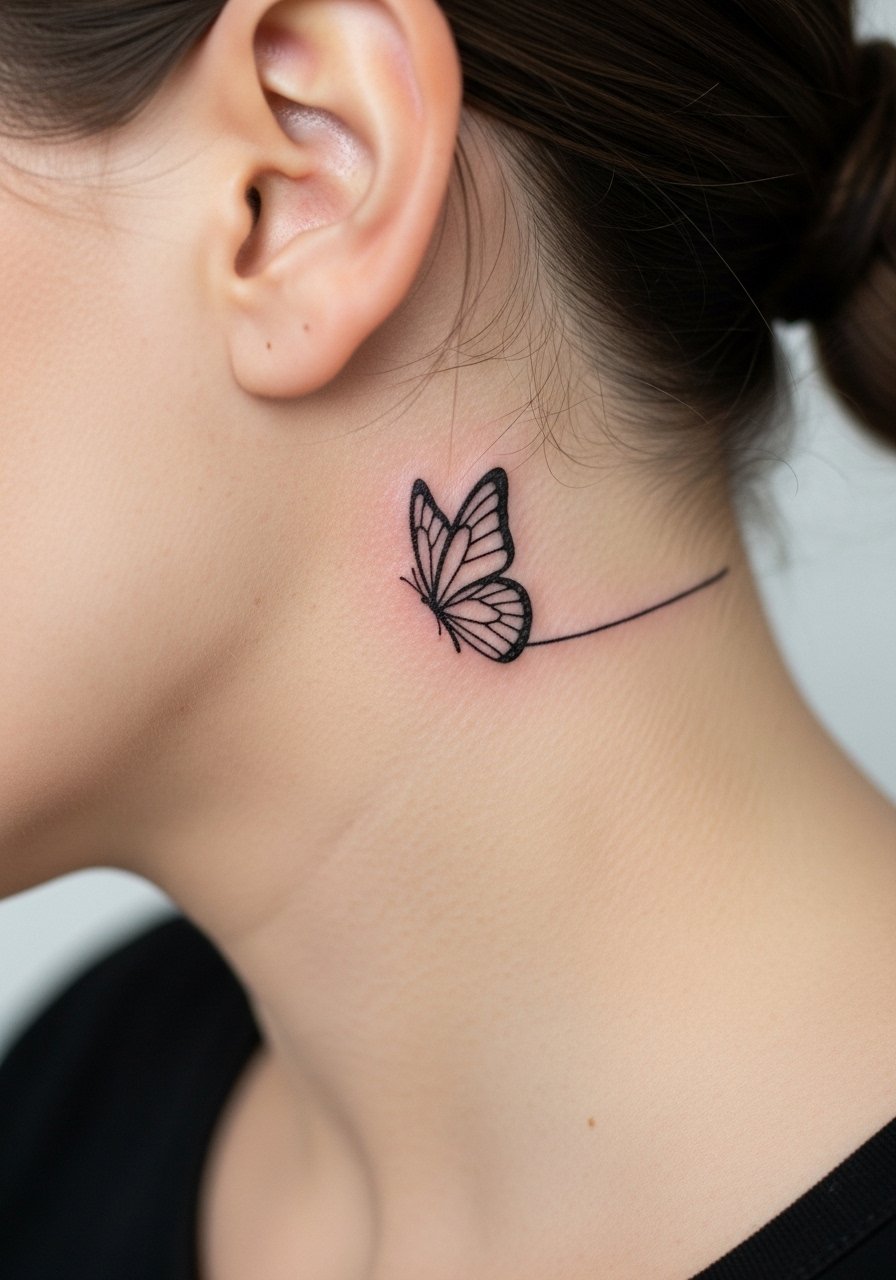
A single-line butterfly reads as motion against the ear curve. Ask for a single continuous stroke that hugs the helix so the wings tuck neatly into the hairline. The session is quick and pain is short but sharp near the bone. This style tends to soften faster than bolder silhouettes, so plan a touch-up at the one-year mark if you want crisp wings. A common mistake is specifying tiny wing detail that blurs into a blotch. To show it off, wear loose beach waves with floral hair pins set that tuck the hair and frame the ink.
3. Five-Point Retro Star
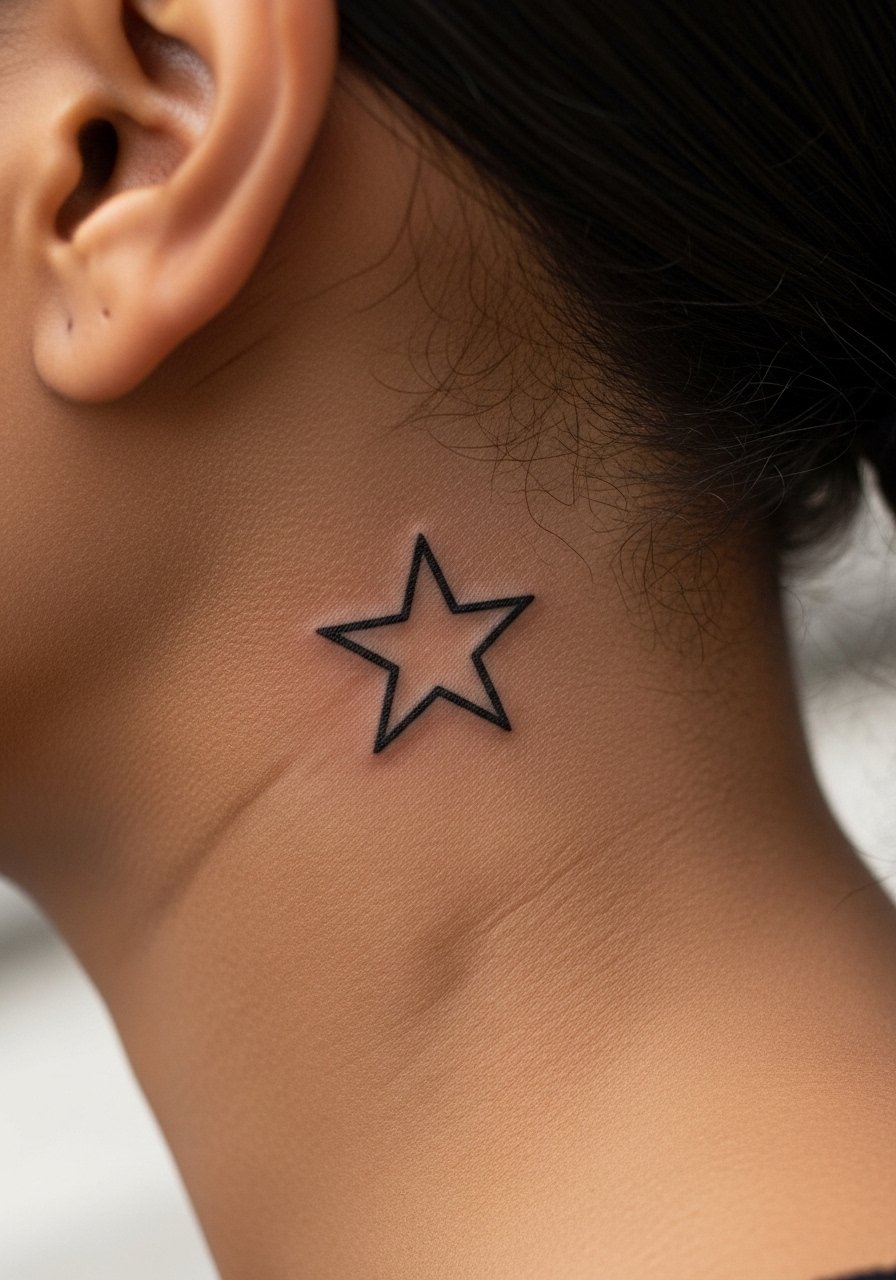
A classic five-point star works when you want a bit of vintage charm without heavy coverage. Ask for a crisp outline with slightly bolder points so the star stays visible on darker tones. Pain is minimal compared with denser shading. This piece is a good pick for people worried about visibility in photos because a stronger outline helps contrast on medium and dark skin. Avoid getting it too small; the biggest mistake is scale that makes the star look like a smudge after a few months. Try side-parted hair with a layered necklace to let the star peek through.
4. Small Rose Outline with Minimal Shading
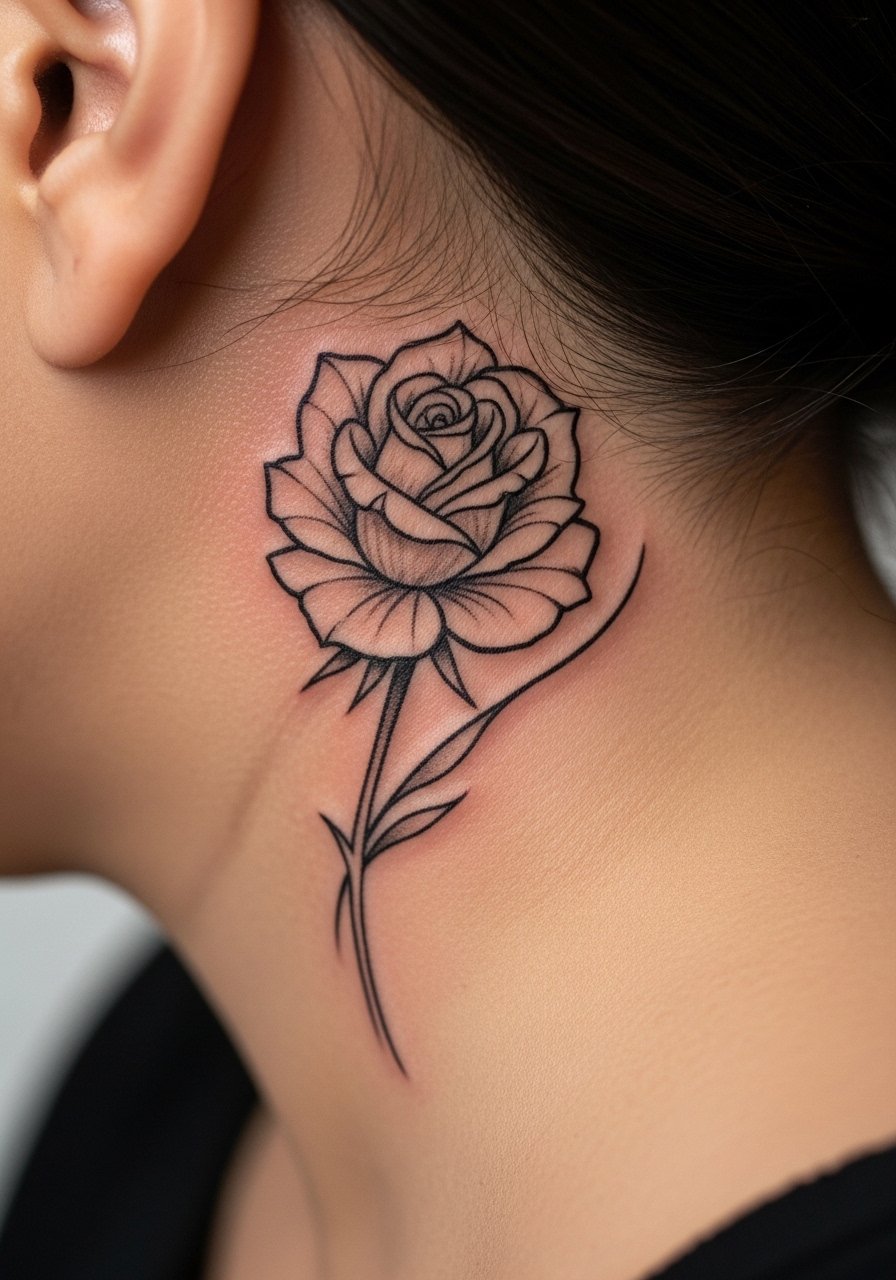
A tiny rose leans classic without taking up space. For longevity, request slightly heavier outer petals and soft gray stipple inside rather than dense black fill. I often tell clients that a 2 cm height works with the ear curve and keeps the bloom readable at year two. The area stings during needle passes but the session stays under an hour. Mistakes include asking for saturated color or micro shading that fades into muddiness. Pair this with a slicked-back bun and small hoop earrings gold for a romantic reveal.
5. Mini Musical Note Cluster
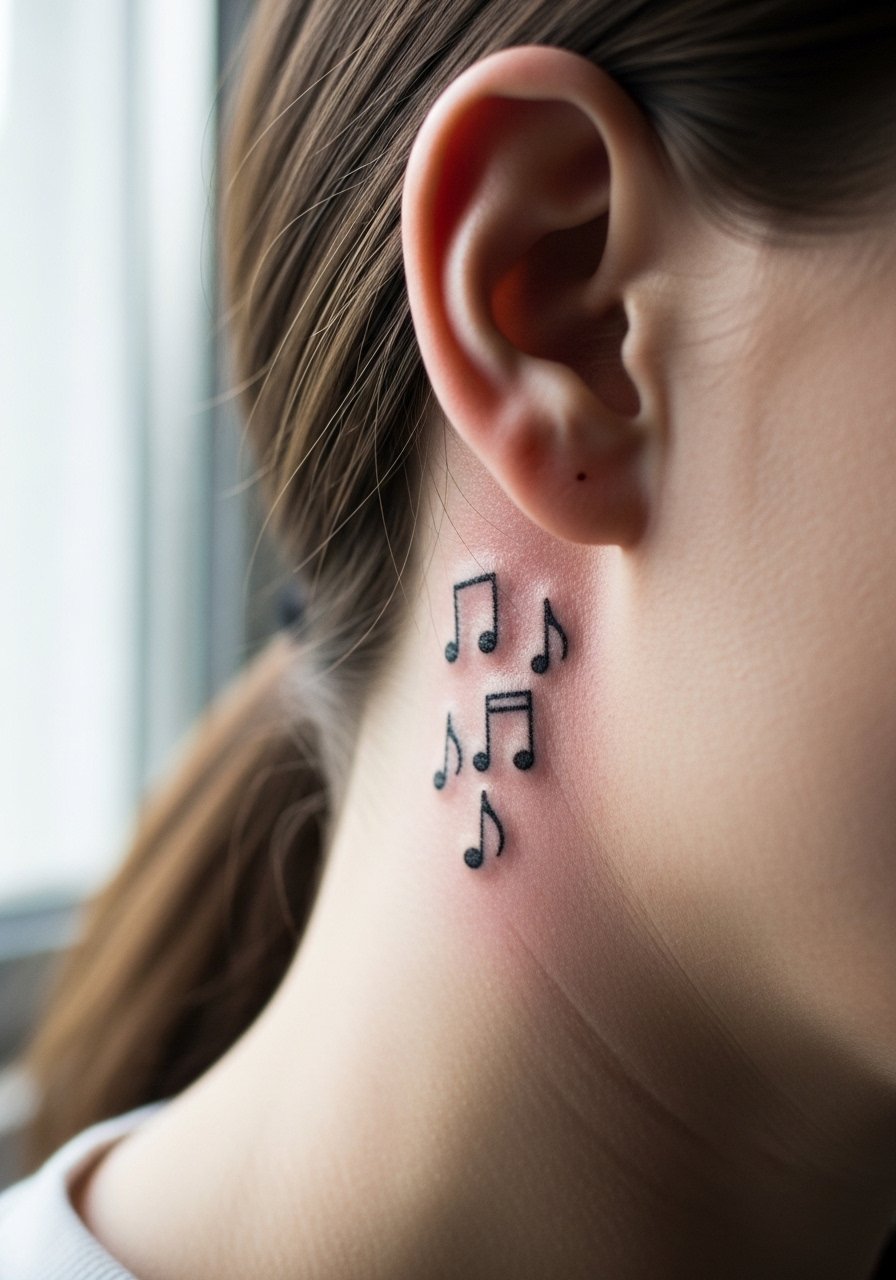
If music is your throughline, a tiny cluster of notes behind the ear reads like a private playlist. Ask for slightly bolder stems on the notes to prevent early fading, and mention the exact spacing you want between symbols. Expect a quick, sharp sting; session time is usually 20 to 30 minutes. Common errors are packing too many tiny symbols into the space. This pairs well with choker-free open collars or a mock neck top black to frame the ink when you want it visible.
6. Minimal Script Word, Horizontal
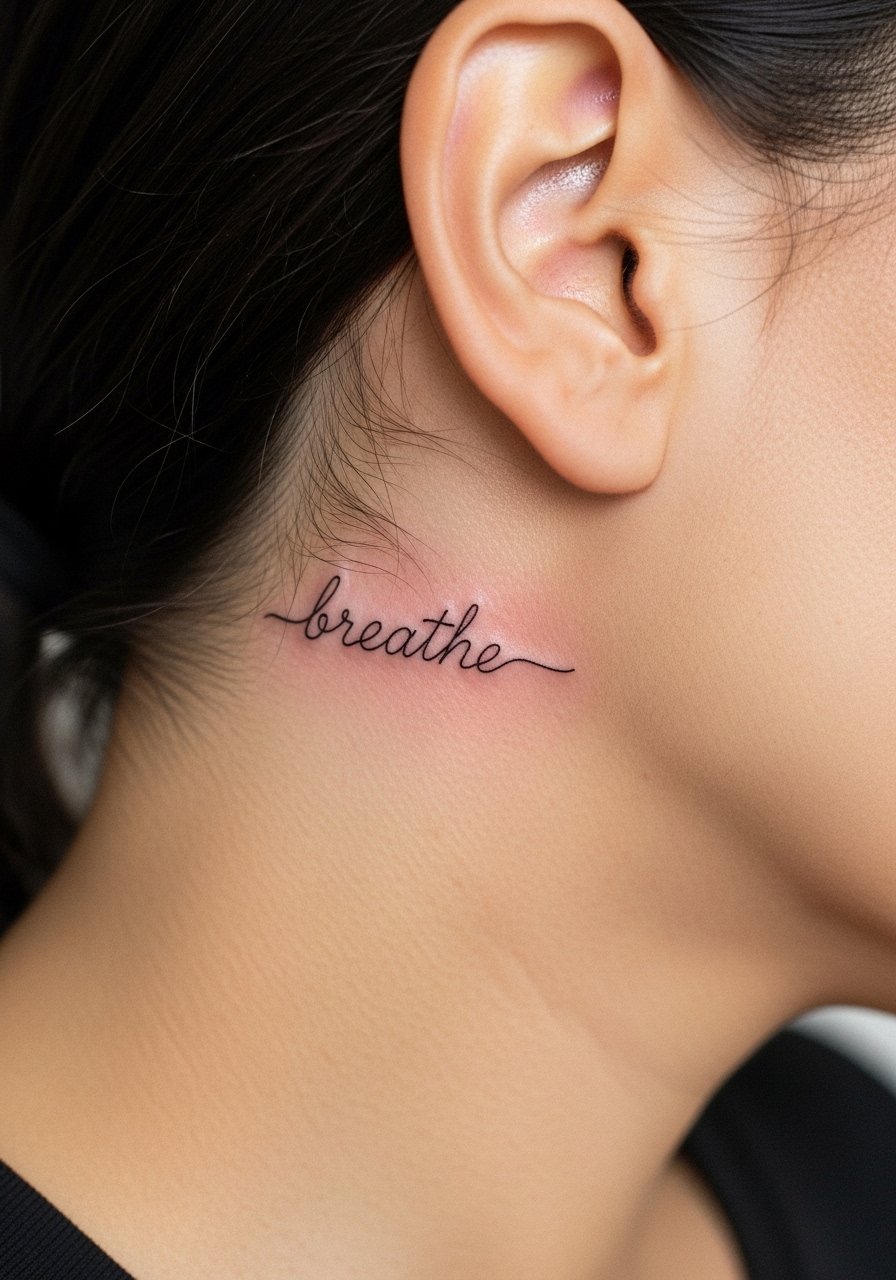
A small script word sits horizontally under the ear and acts as a quiet reminder. Tell your artist the exact font and line weight so letters do not collapse into one another as they heal. Script behind the ear can blister if a thick ointment is used, so ask about aftercare policies and expect a touch-up at 6 to 12 months. Pain is manageable but more noticeable while the needle crosses curves. A mistake I see is choosing a font with tiny counters that fill in. For the session wear, a high ponytail and a v neck cotton tee let the artist access the area easily.
Heal Smart
The first six ideas above sit in the same friction zone where hair and collars interfere, so a few prep and healing items make the session and first week simpler.
- Tea Tree Tattoo Butter. A thinner balm option that many people prefer over heavier gels because it moisturizes without leaving a greasy film that attracts hair.
- Australian aftercare spray. Spray-style options help with quick clean applications on small ear pieces and avoid excessive rubbing.
- Silk wrap sheets. Use these to keep hair off the fresh tattoo during the scab phase without tight knots that pull.
- Japanese rice bran oil balm. Lightweight natural oil for gentle moisture that does not clog tiny channels in fine line work.
- Aquaphor healing ointment. A widely used thin layering ointment for the earliest days when you need barrier protection on small areas.
7. Tiny Heart with Dot Accents
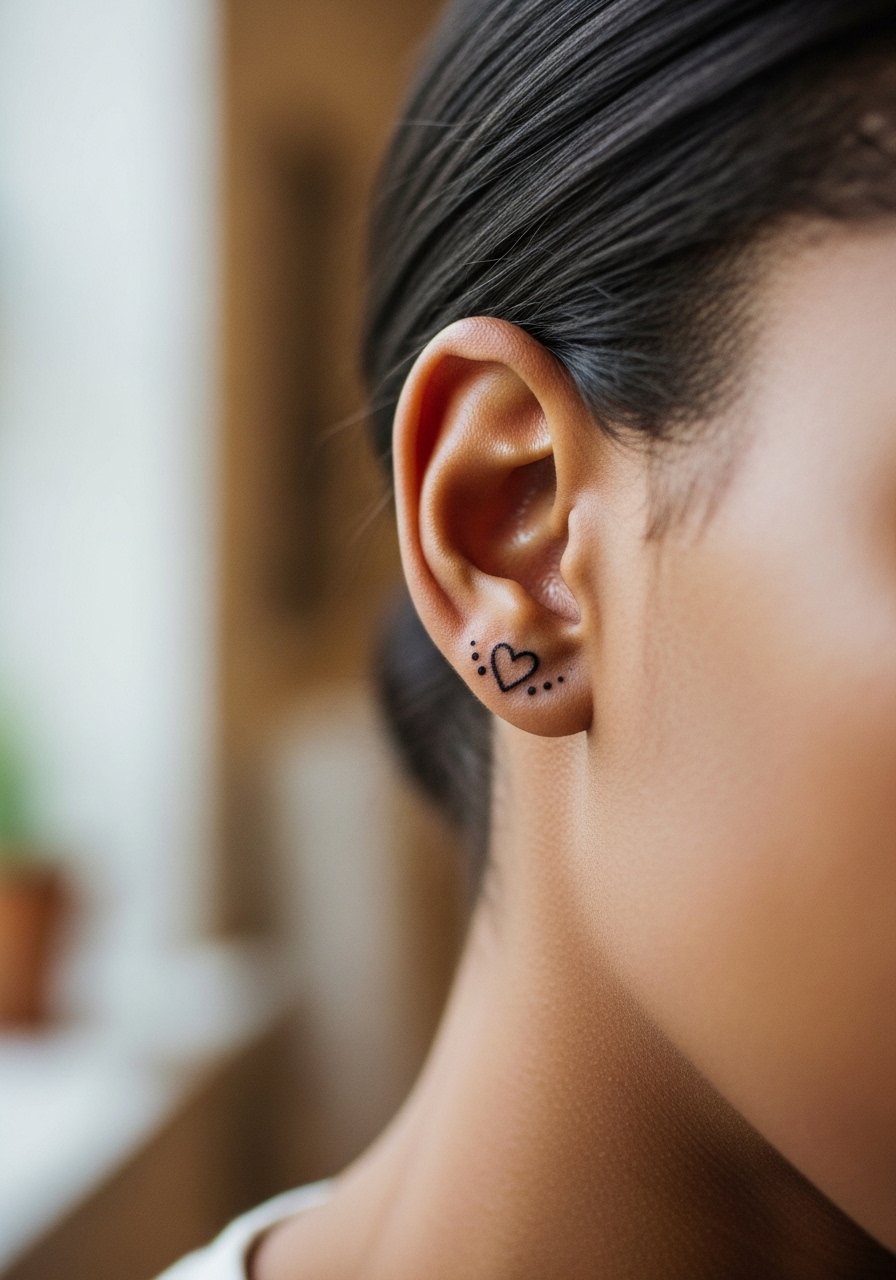
A small heart with dot accents feels playful and reads clearly when the outline is slightly bolder. Tell the artist to scale the dots so they remain visible after healing. This spot is quick but sharp, and blowout risk is low if the linework is done with correct depth. A common mistake is requesting ultrafine dots that fade to nothing. For show-off styling, try an asymmetrical bob or an updo with matching stud earrings minimalist to keep attention on one side.
8. Baby's Breath Sprig, Vertical
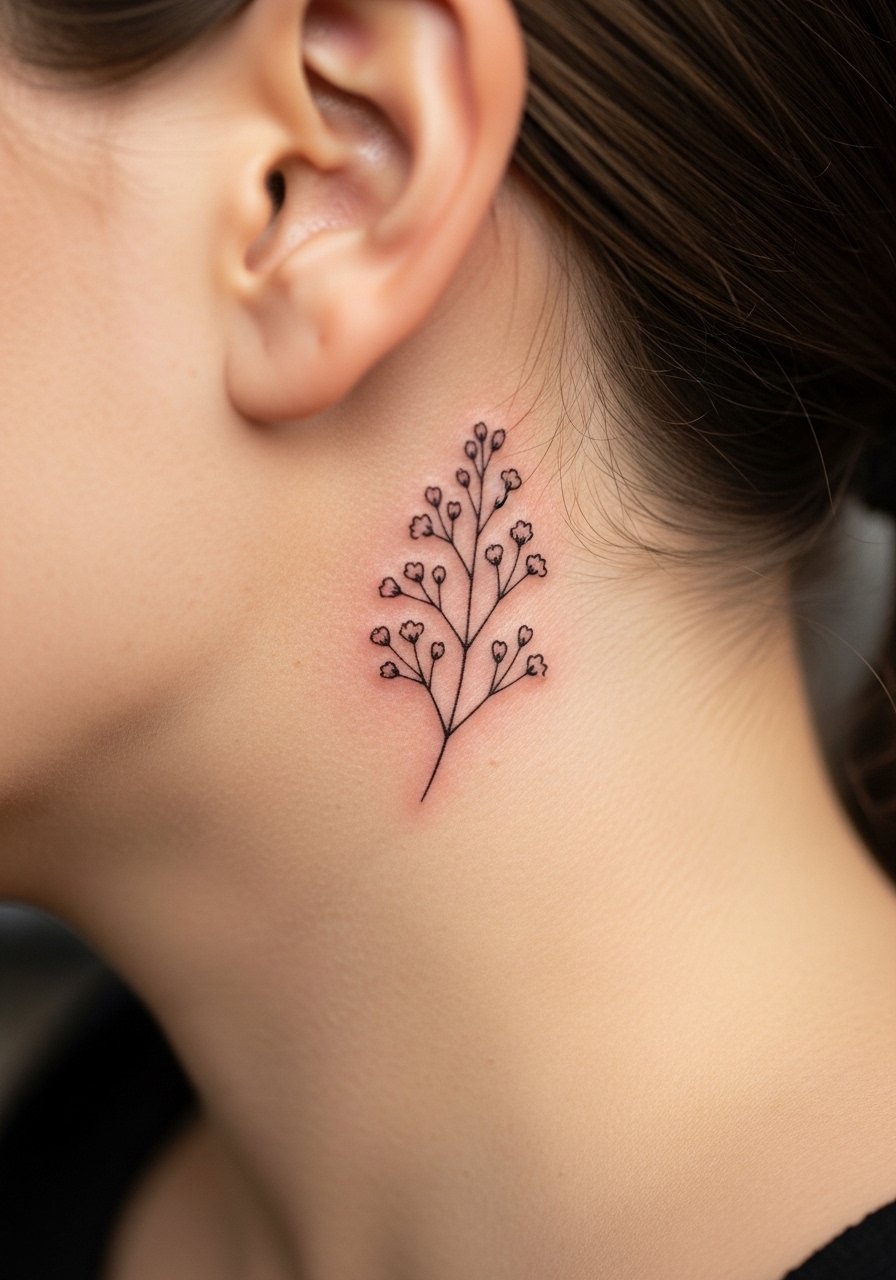
Baby's breath reads soft and airy when the buds are spaced with breathing room. I suggest wider spacing between the tiny flowers and a slightly stronger main stem to keep contrast as it ages. The session is short and the pain is a quick sting. The mistake is packing too many micro-flowers into a 2 cm area. Over time the tiny dots may blur a little so a touch-up at one year is common. For a feminine pairing, wear loose beach waves and a few floral hair pins set.
9. Crescent Moon with Mini Stars
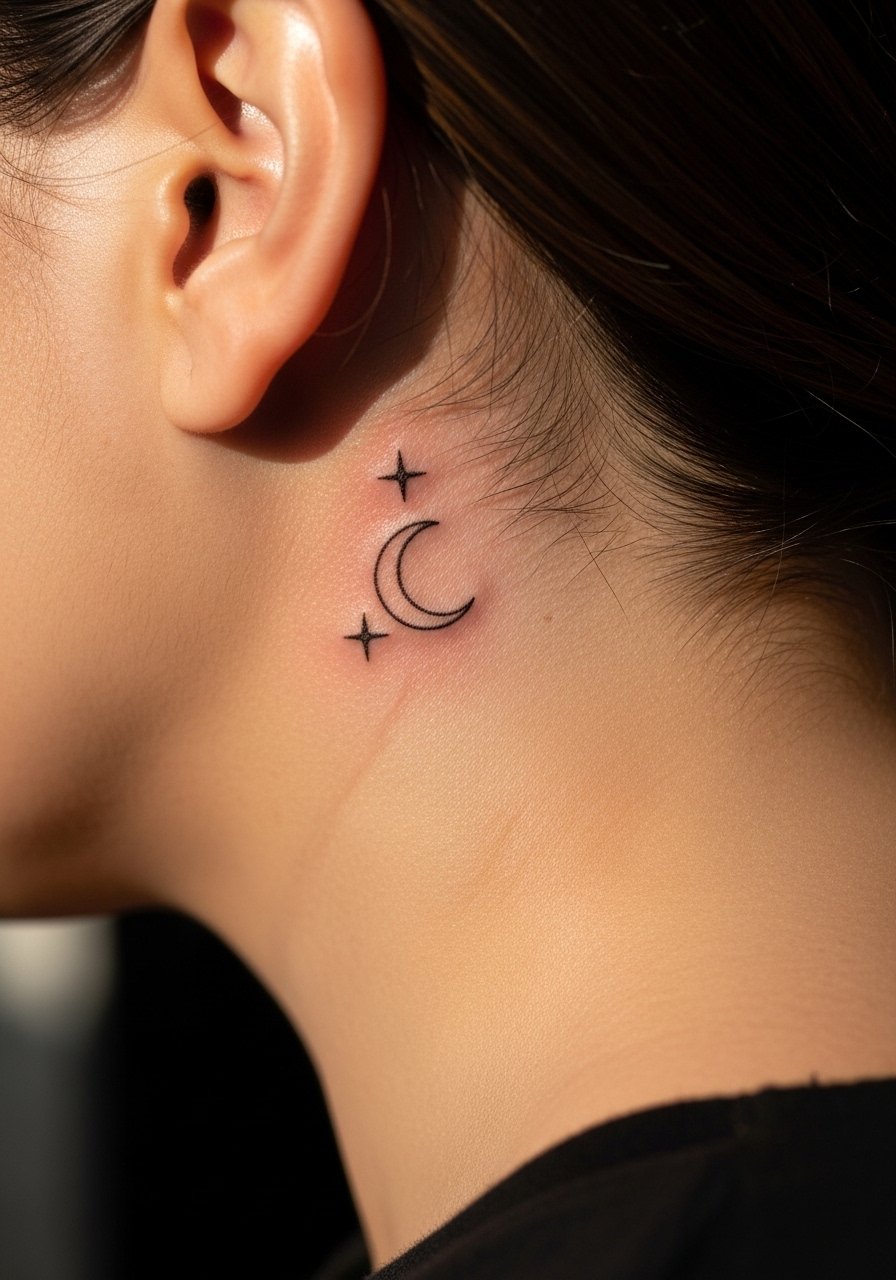
Celestial motifs are versatile. When you ask for a crescent and stars, specify the curve direction so it reads like a crescent cradling the ear. Pain is comparable to other behind-ear placements and the session is short. Artists split on whether micro stars should be stippled or outlined. One camp prefers dot work for longevity and the other prefers thin outlines for sharper negatives. Both approaches work with the right spacing. For evenings out, a side-swept style with a layered gold necklace delicate creates a night-sky vibe.
10. Single Line Wave That Wraps Slightly
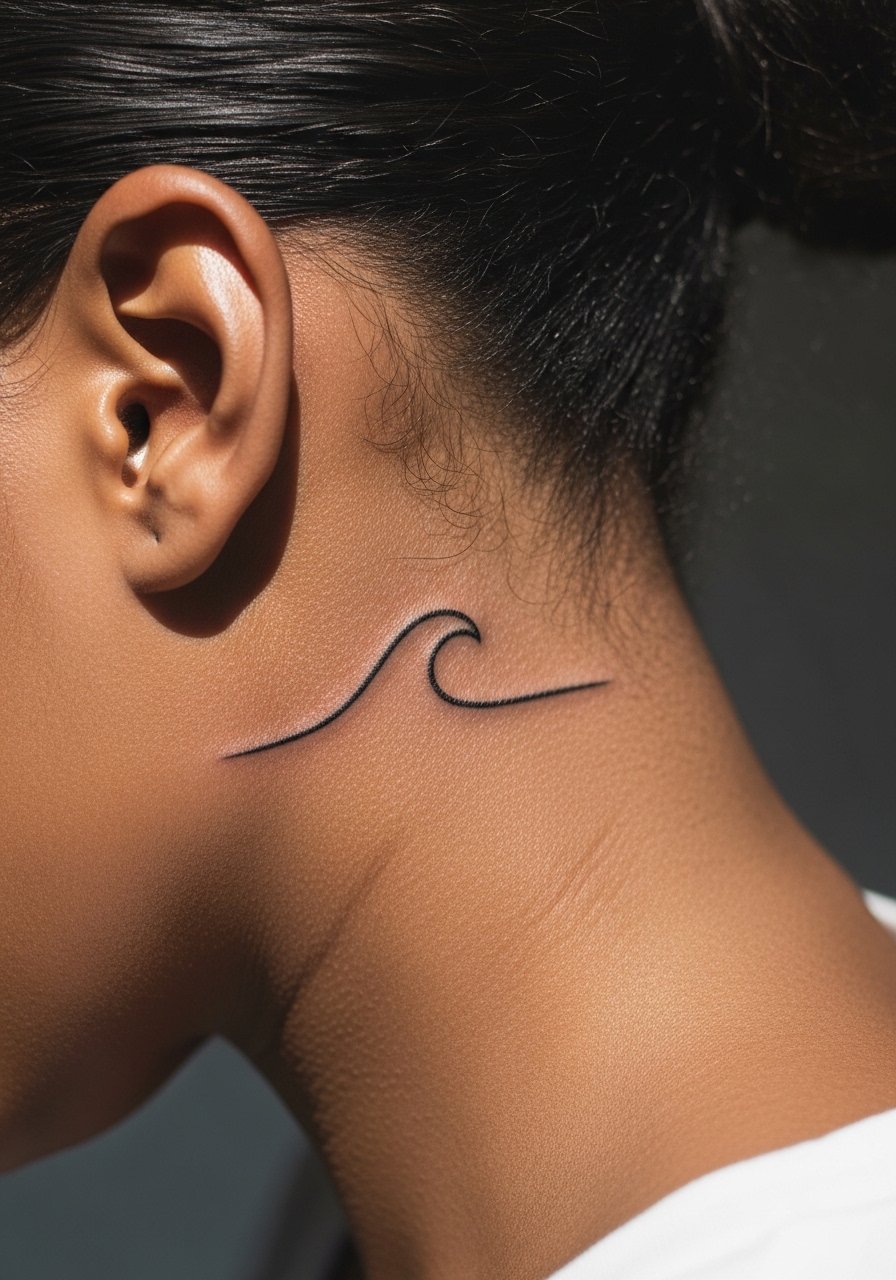
A single-line wave that follows the ear helix gives a fluid, motion effect. Ask the artist to orient the wave so the crest sits at the natural curve of your helix. This piece adapts well to the ear shape and avoids dense shading. Expect a moderate sting where the needle crosses curved tissue. A frequent mistake is trying to force a wrap that extends too far into the neck, which can distort with movement. Pair it with rolled-up sleeves or a tucked linen shirt when you want to show off movement.
11. Tiny Anchor Silhouette
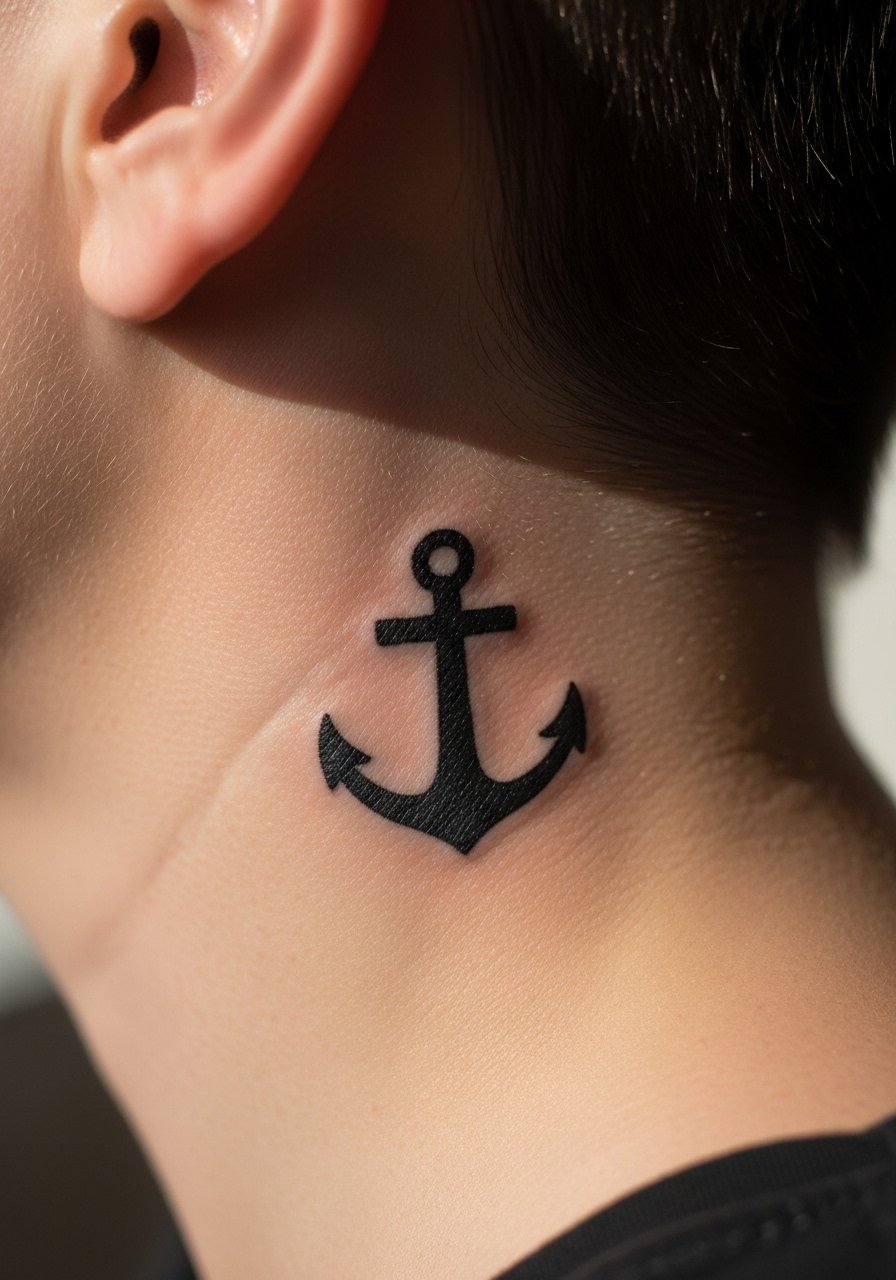
An anchor reads like stability in small form when its shank and flukes are scaled to hold up. Ask for compact negative space in the body and a bolder outline so the shape retains contrast on darker skin. The session is quick and pain is brief. Mistakes include over-detailing the inside which can bleed into a blotch. For a vintage feel, wear side-parted waves and a layered gold necklace delicate or a simple choker when you want subtle framing.
12. Feather Tip Pointing Downward
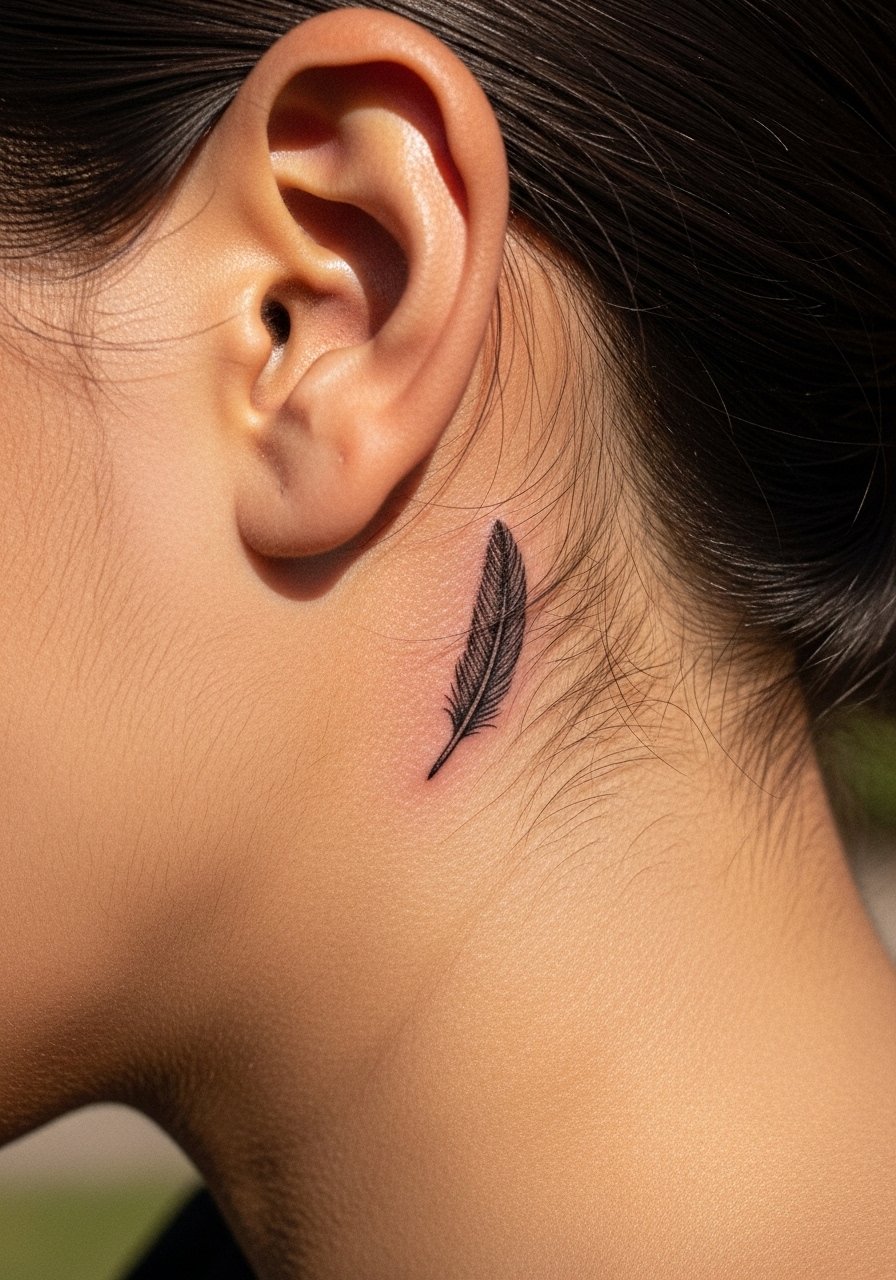
A feather tip points down along the neck and reads airy when the quill line has a touch of thickness. Tell the artist you want the vane to be open with sparse barbs so the piece ages without muddiness. Pain is on the tolerable side and sessions stay short. The common error is asking for dense inner shading that turns blotchy. For session wear, a loose tank top or a high ponytail makes access easy and keeps hair away while it heals.
13. Curved Micro Wave Echoing the Helix
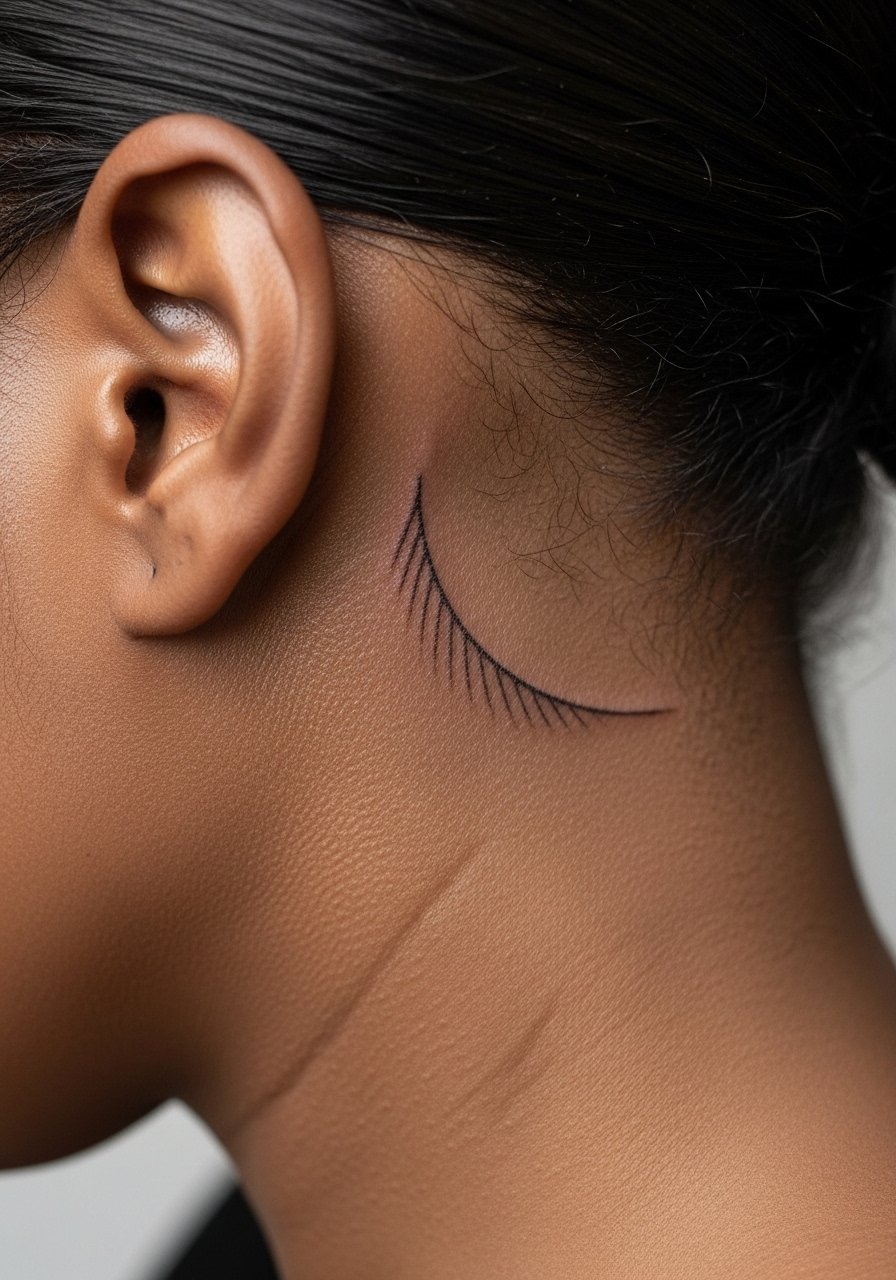
This design is one of the less-cited angles that plays with the ear contour, making the ear look like it sits inside a tiny tide. The secret is minimal overlapping so each curve reads independently at year two. Pain is brief and the session is under half an hour. A mistake is adding small fills that remove the sense of motion. Pair it with an undercut or tucked hair so the wave can peek through shaved lines if you have a style that supports it.
14. Tiny Geometric Triangle Stack
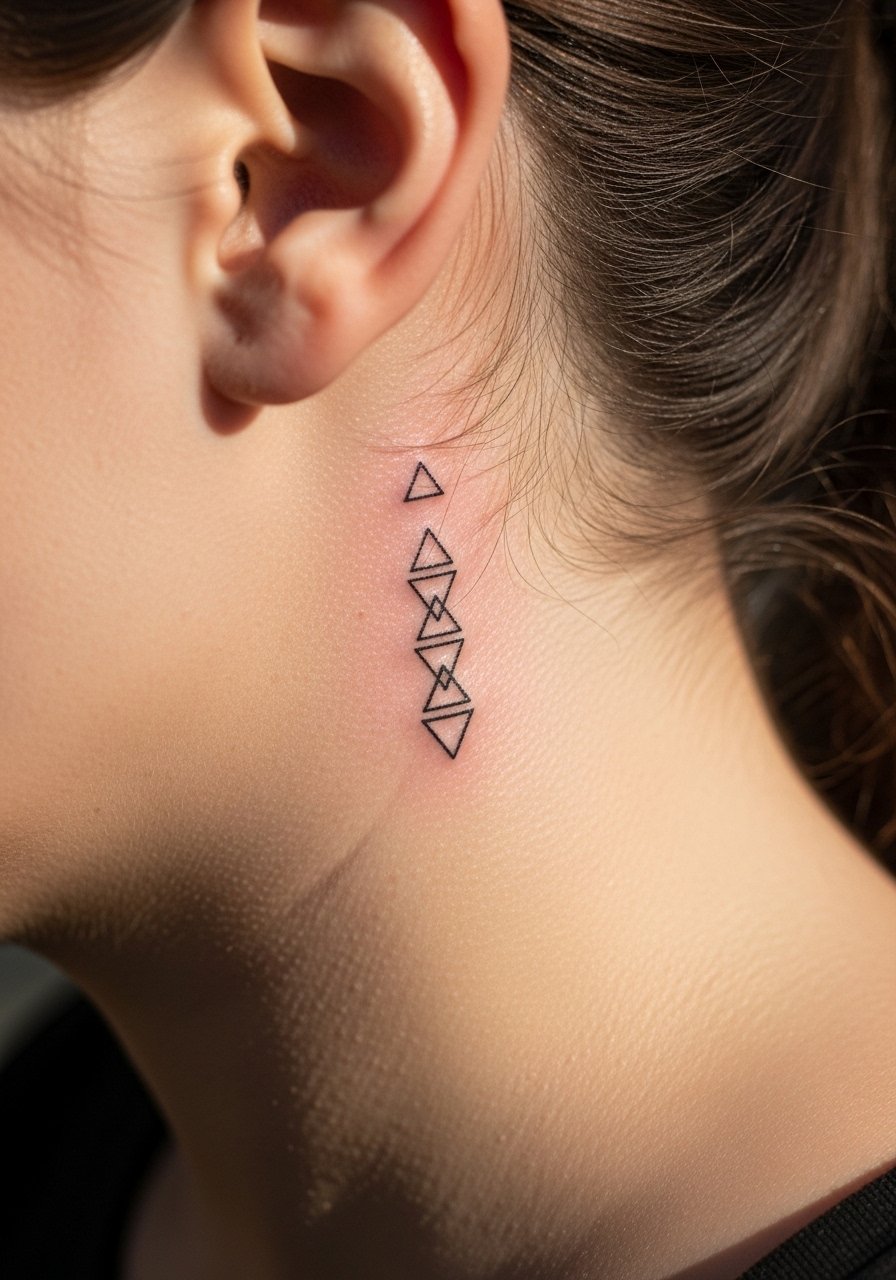
A stack of triangles reads modern and compact when spacings are consistent. Ask the artist for even distances and slightly thicker outer triangles to maintain a silhouette on darker skin tones. Expect sharp but short pain. The usual mistake is getting dense dot fills inside the shapes which can blur. For display, try a tucked asymmetrical bob and a delicate thin chain pendant necklace that sits higher than the triangles.
15. Micro-Realism Single Bloom
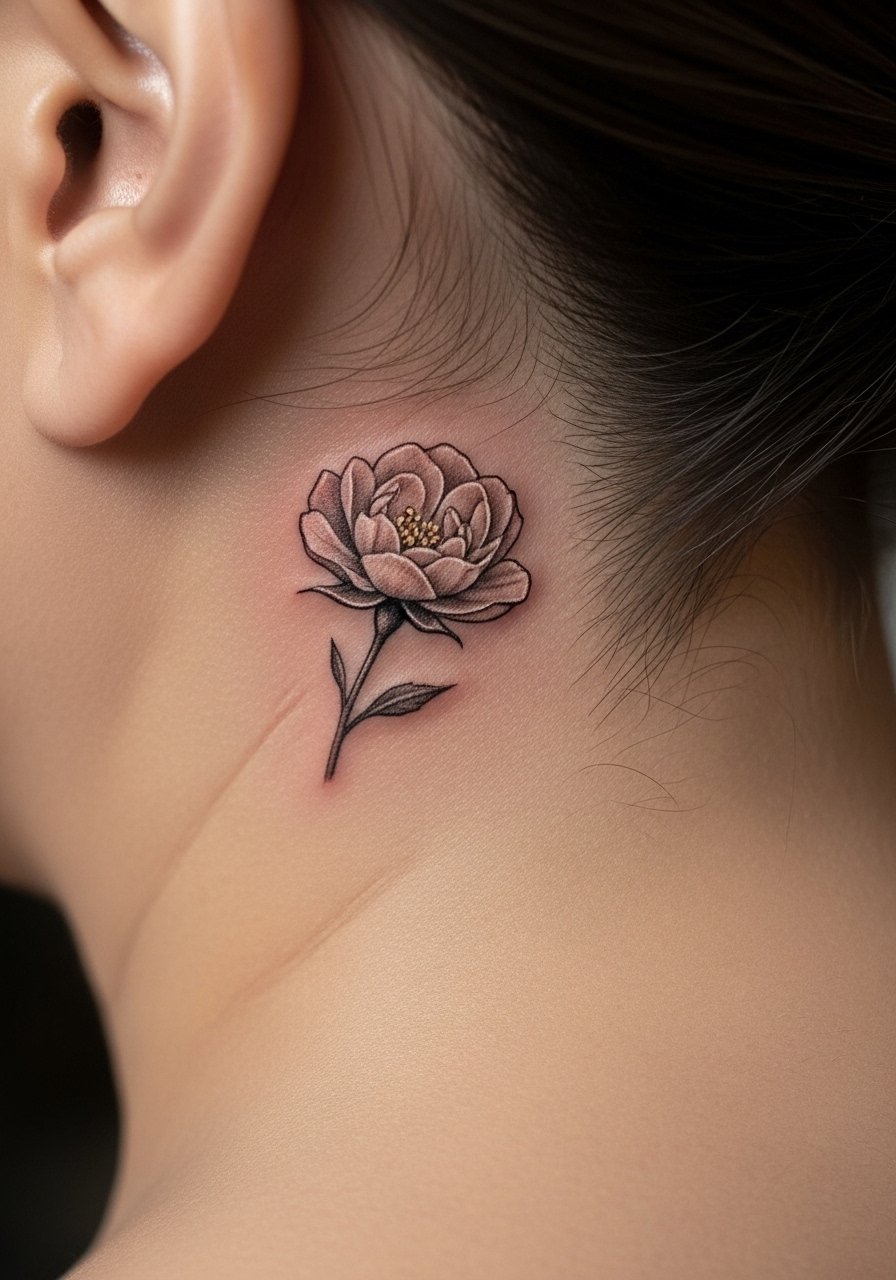
Micro-realism behind the ear can be striking if the artist uses contrast and spacing rather than dense pixels. Tell them you want the darkest shadows limited and the highlights left as skin so the bloom reads well at months 6 and 24. Pain is higher when shading is applied close to the bone. A common error is overpacking tiny shading that ages into a gray blur. For session wear, a button-neck shirt or a loose tank lets the artist access the area while keeping garments from rubbing.
16. Small Constellation Map
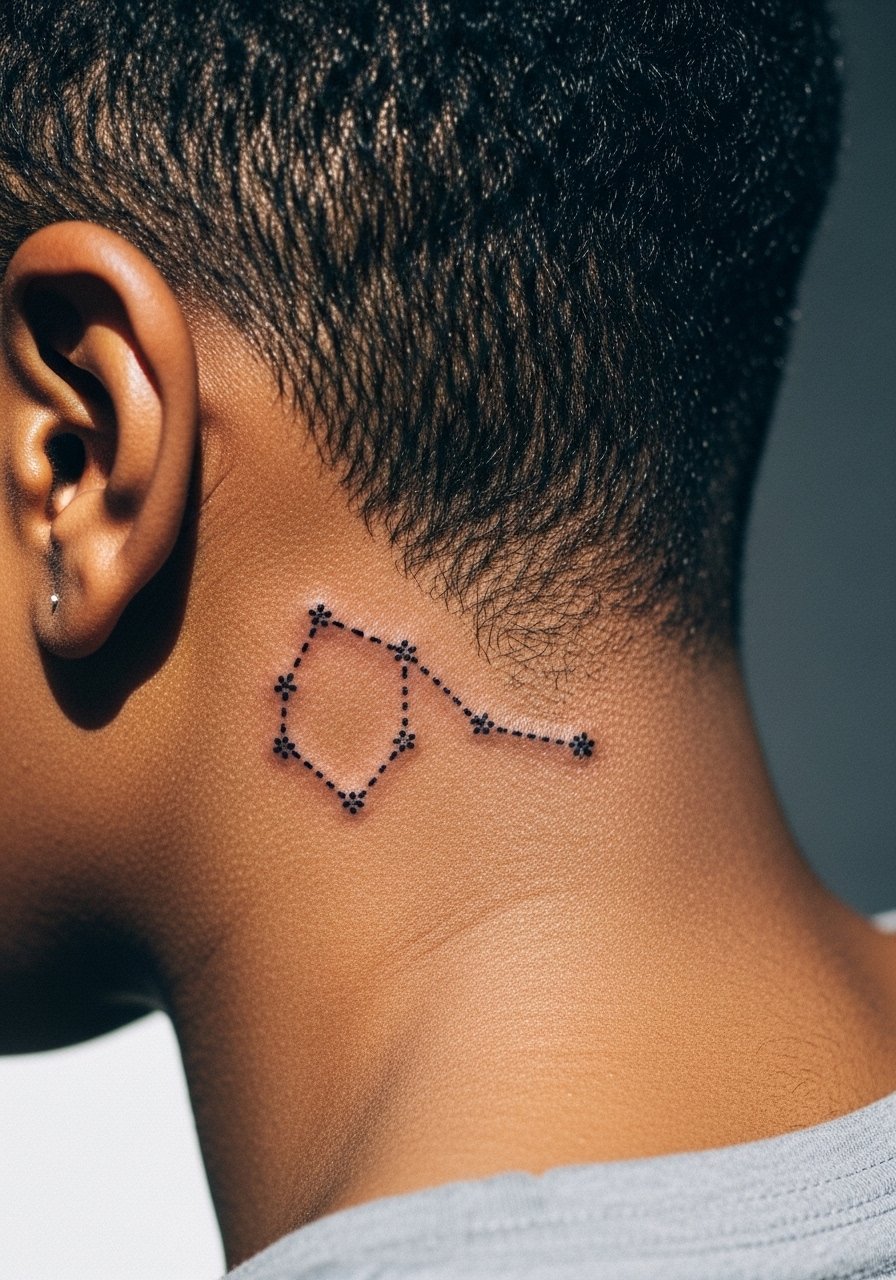
A constellation of tiny stars and connecting lines feels personal when placed right behind the ear. Request slightly bolder connection lines and slightly enlarged star dots so the map reads in photos. The session is quick, but avoid crowding the space. A common mistake is including too many connection points that make the pattern unreadable after six months. Pair with side-parted hair or a braid that reveals one side.
17. Hairline-Integrated Peeking Design
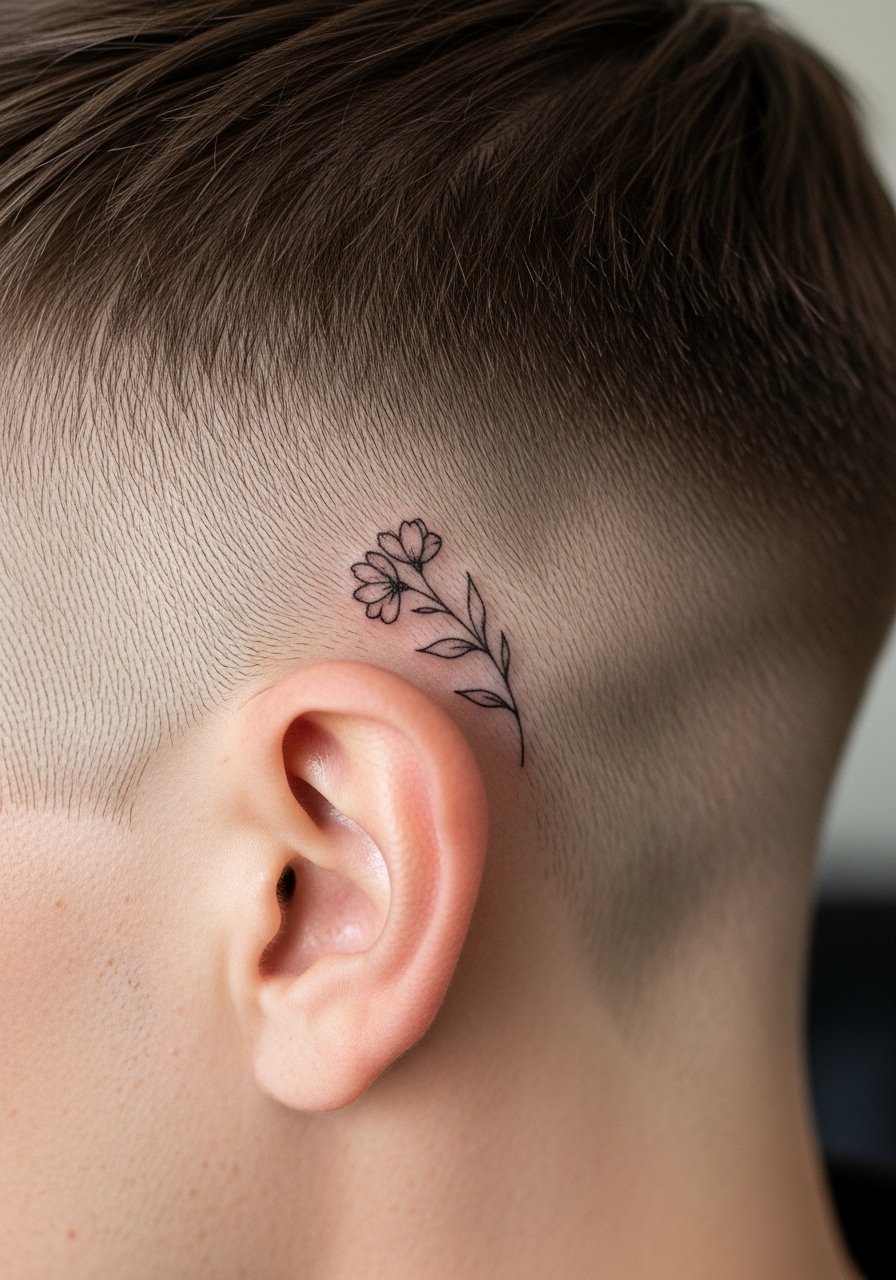
This is one of the under-covered ideas where the tattoo is designed to peek through a shaved undercut. Plan the layout with your barber or stylist so the tattoo aligns with a shaved pattern. Pain is similar to other ear-adjacent spots, but the visual payoff is high if the shaved area grows out intentionally. A mistake is not coordinating placement with future hair changes. If you plan to show it off, an undercut and specific hair pins create a controlled reveal.
18. Bold Outline for Darker Tones
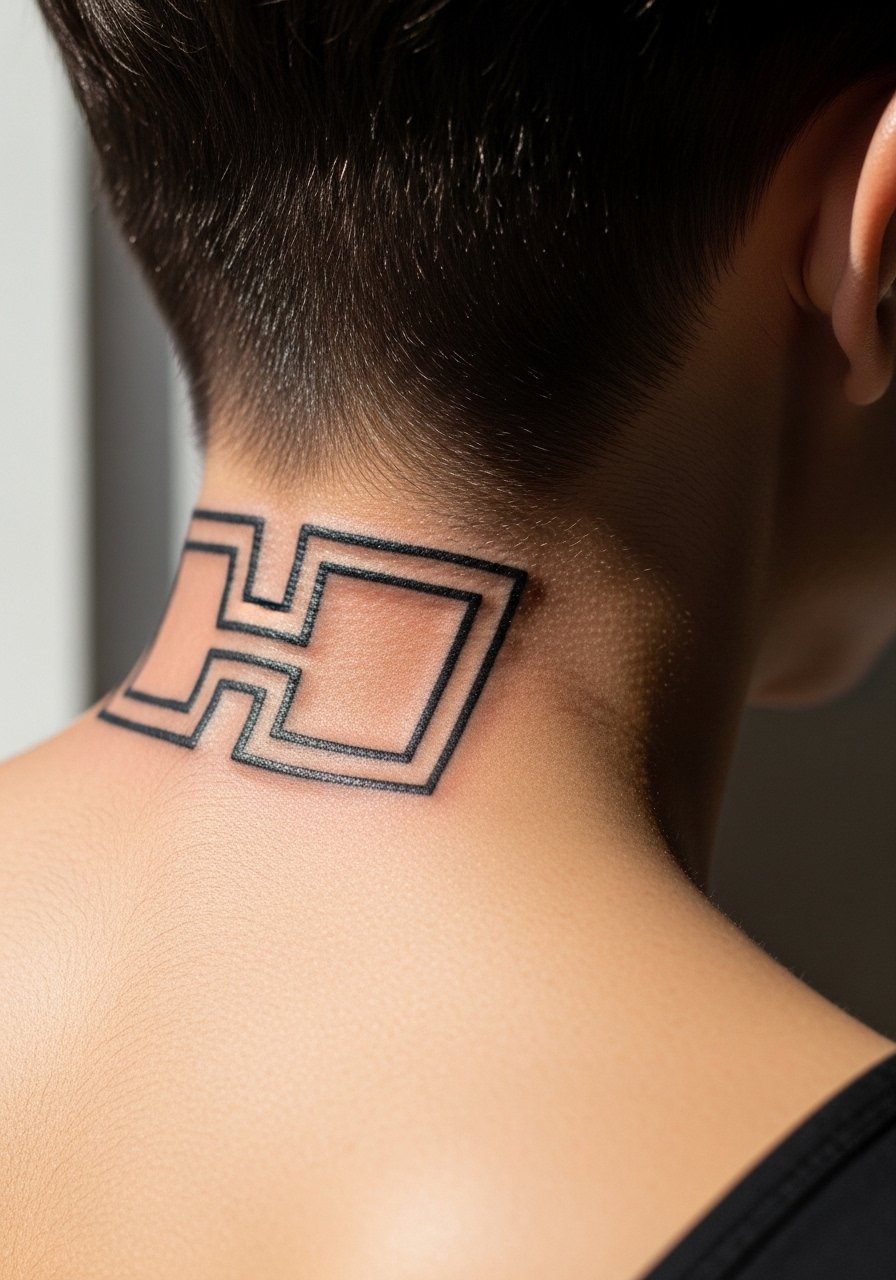
For darker complexions, asking for a bolder outline rather than ultra-fine linework helps the design remain visible in photos and at distance. Tell your artist you want stronger contrast and leave out faint color washes. Pain and session time match other ear placements. The trade-off is slightly less subtlety but more longevity. A common mistake is choosing faint gray shading that disappears. Try paired accessories like a hoop earring set that echoes the shape.
19. Post-Weight-Change Placement Warning
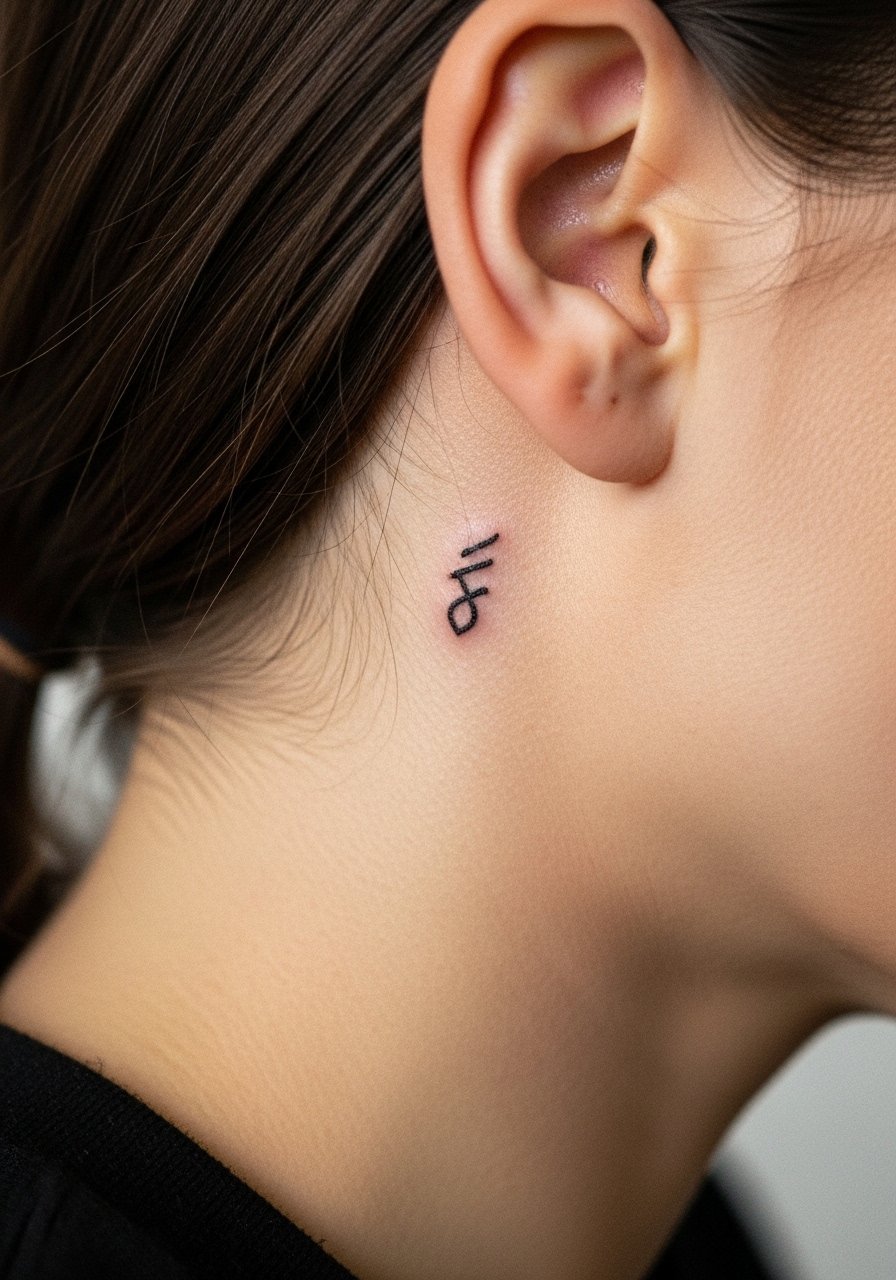
If you expect major weight or contour changes, mention them in consultation. Skin that tightens or moves can shift micro placements subtly over years. I have seen pieces that sat perfectly for a season and then needed a touch-up after body changes. This is not an artist fault, it is a planning detail. Choose placement slightly higher or lower to avoid areas that stretch the most. For the session, wear a loose top so the artist can access the neck without tugging at clothing.
20. Guest-Spot Finding and Travel Tips
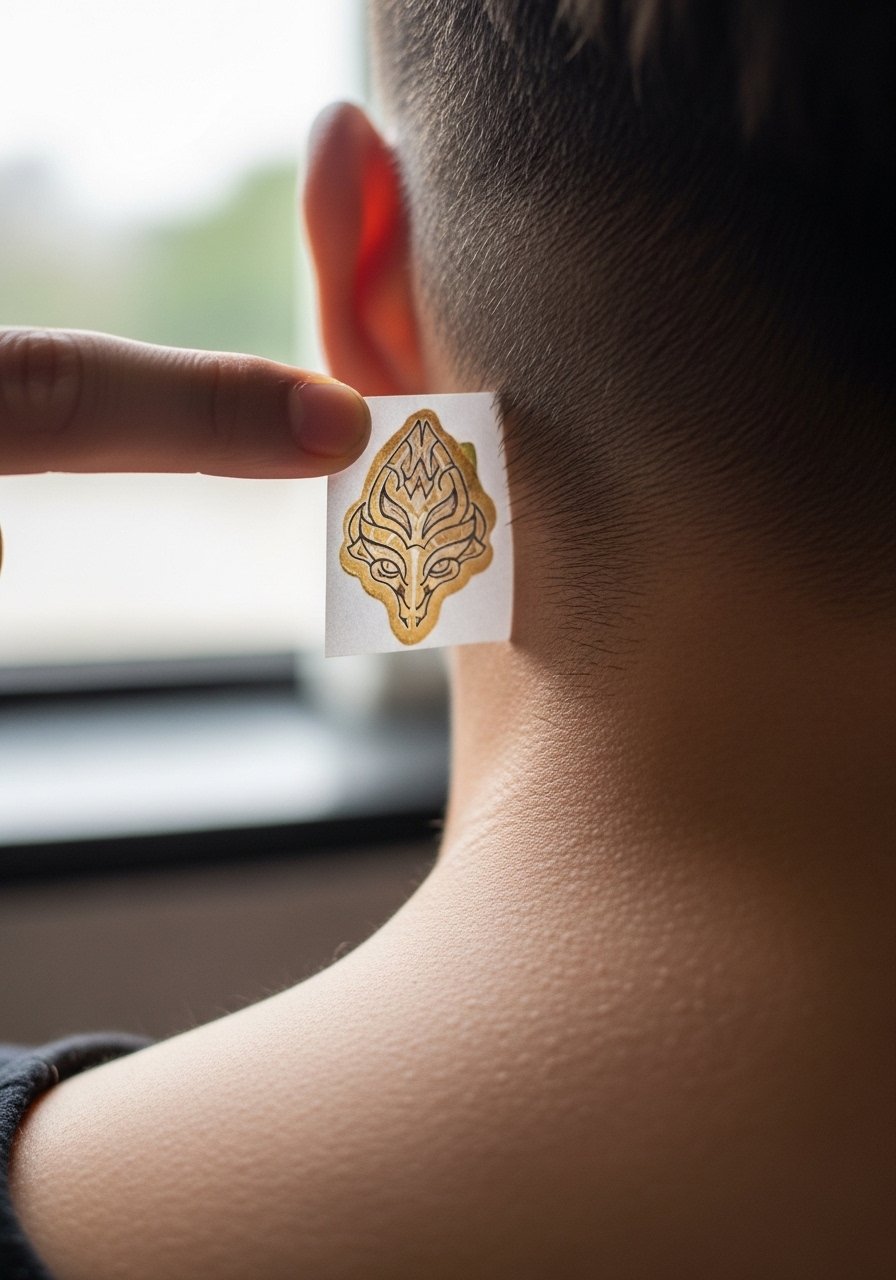
Finding a micro-specialist sometimes means traveling to a guest spot. Use hashtag searches like #BehindEarTattoo plus your city on social platforms and check tattoodo or booking apps for event listings. A deposit policy is common and helps avoid cancellations. The tattoo itself is short but requires steady hands from an artist who does micro work. If you must reschedule, have a backup artist in your network. Bring a button-down or a top that opens so the artist can position you comfortably.
21. Single Glyph or Coordinate
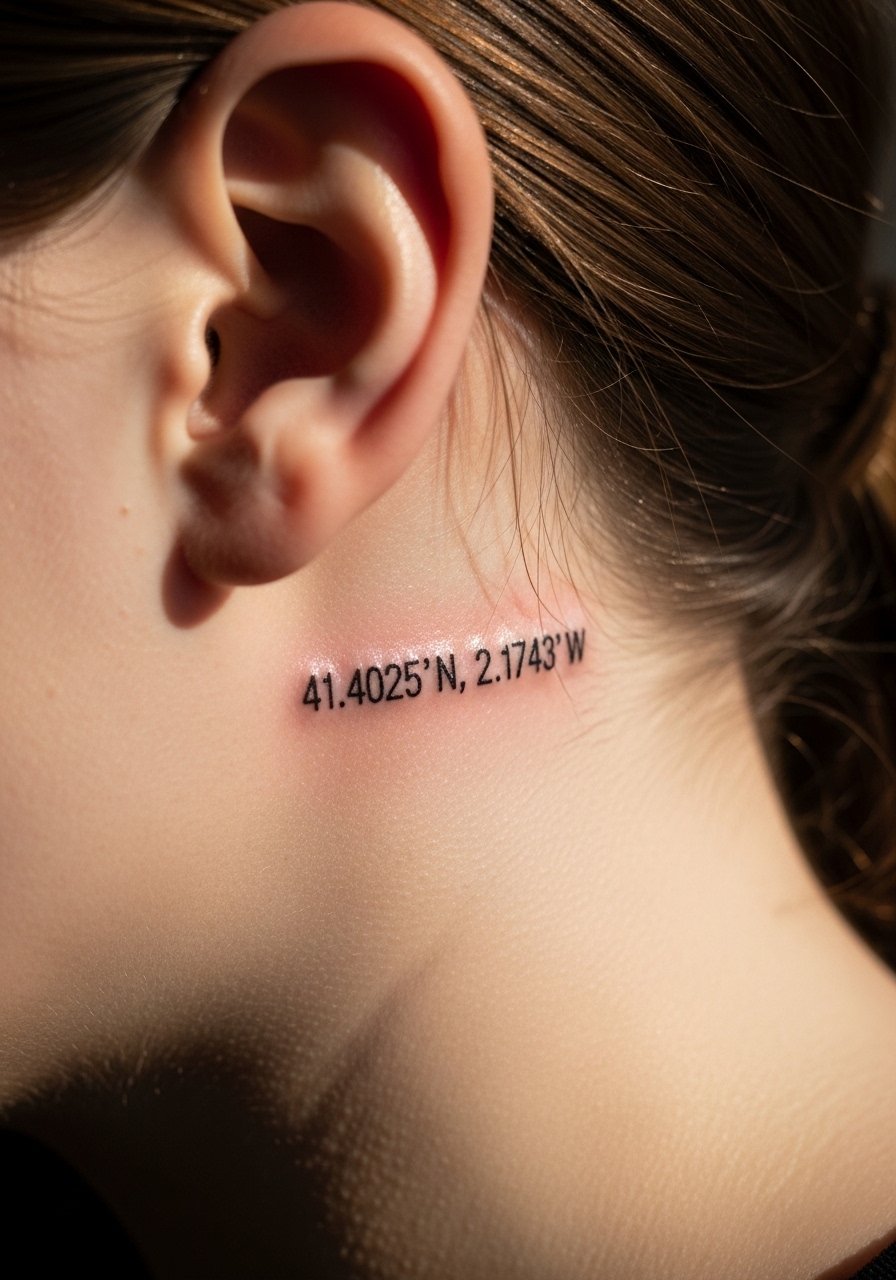
A tiny coordinate or glyph reads like a private marker behind the ear and works best when the text is exact and legible. Specify the exact characters to the artist and request letters or numbers at a size that will remain readable at 6 and 24 months. Expect a quick session and higher visibility in close-up photos depending on skin tone. The big mistake is choosing too small a point size for script or numbers, which can blur. For showing it off, an asymmetrical bob or tucking one side behind the ear keeps attention on the single glyph.
Frequently Asked Questions
Q: How much does a small behind ear tattoo usually cost and how long will the session take?
A: Prices vary by city and shop, but these micro sessions typically run one quick appointment between 20 and 60 minutes. Expect to pay within general small-piece pricing brackets in your area and plan for a possible touch-up at six to twelve months for fine line work.
Q: Why do fine line behind ear tattoos sometimes fade faster, and how can I slow that process?
A: Fine line fades faster when lines are drawn too thin or placed in high-friction zones. Ask the artist for slightly stronger line weight and proper spacing during consultation. Avoid sun exposure for at least two weeks and consider a planned touch-up at year one depending on how your skin settled.
Q: Does hair sticking to the tattoo during healing mean I should shave the area?
A: Not necessarily. Tying hair back tightly and sleeping on a clean silk wrap sheet reduces sticking. Some people coordinate a style like an undercut to show a design intentionally, but if you prefer no shave, keep hair pinned and use a light silk barrier at night.
Q: I have darker skin. Which behind ear styles show up best in photos?
A: Stronger outlines and minimal negative-space shading help designs read on darker tones. Ask for bolder primary strokes rather than faint gray washes. Ask your artist to do a quick skin-contrast mockup in natural light before starting.
Q: Are there healing method debates I should know about?
A: Yes. Artists and clients split over wound coverings and balms. One group uses protective film or thin ointment to shield small pieces, and the other prefers minimal covering and light moisturizers to let scabs breathe. Discuss which approach your chosen artist prefers and why, then follow their guidance for best results.